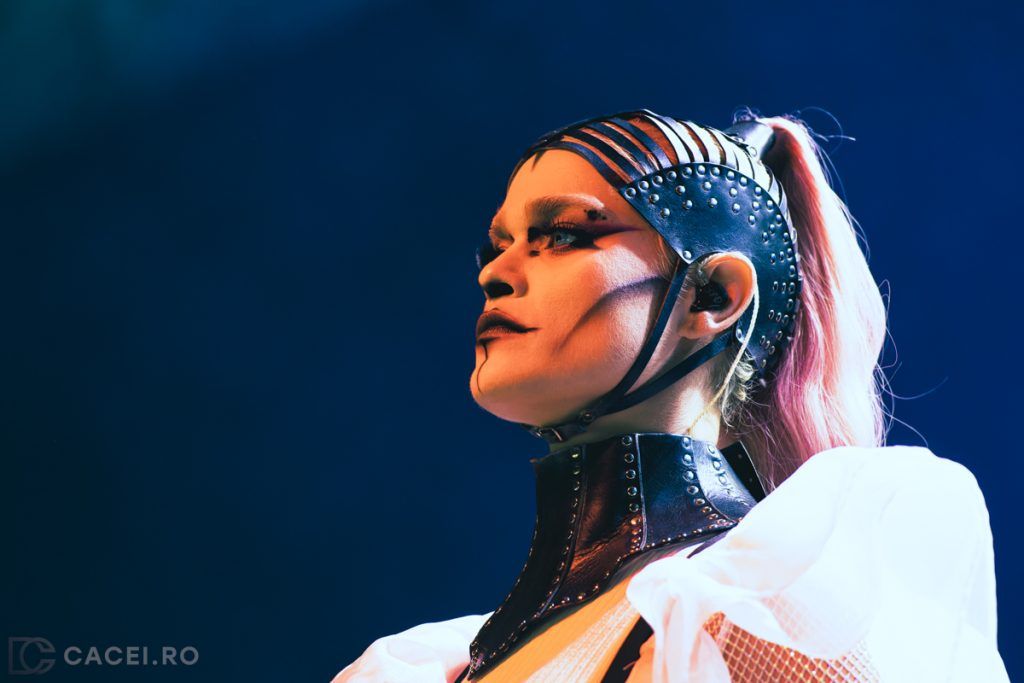
Metal concert photography can be quite challenging. From dimly lit stages to fast-moving performers, photographers must be ready for anything. This guide covers some of the major issues you’ll face when shooting metal concerts, along with tips and techniques for capturing those moments. Whether you’re just starting or looking to sharpen your skills, this article will help you navigate the intense world of metal concert photography.
Challenges of Shooting Metal Concerts
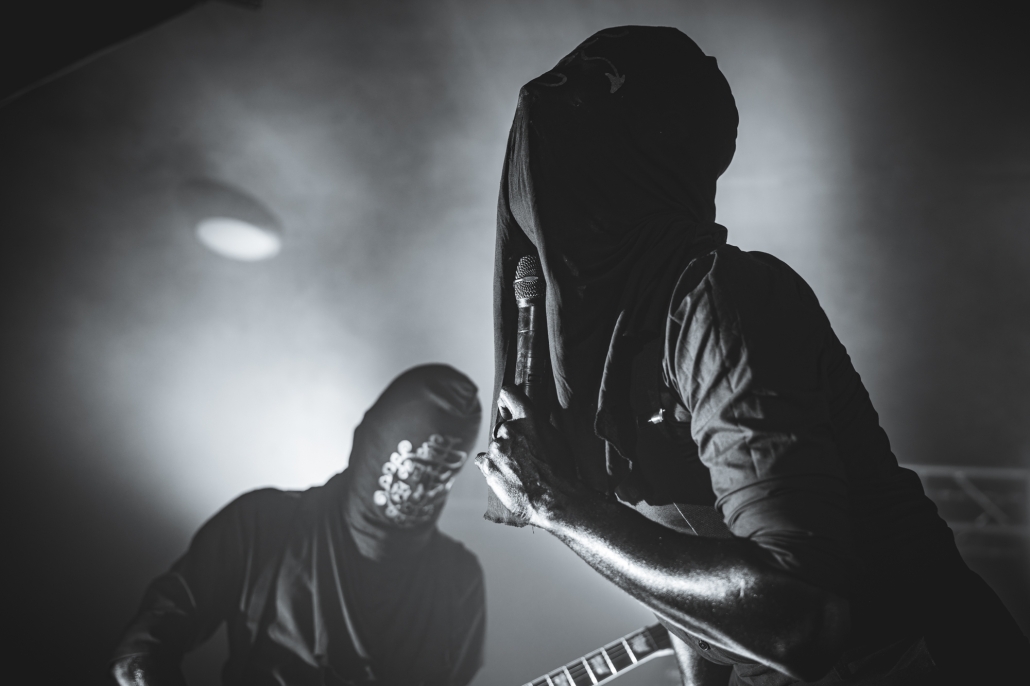
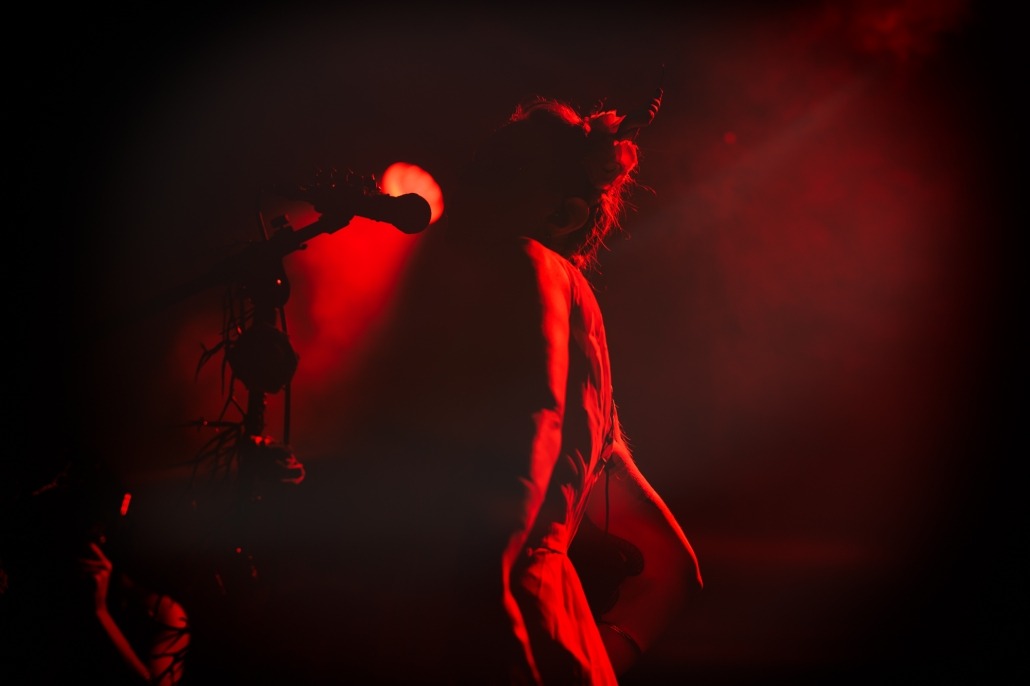
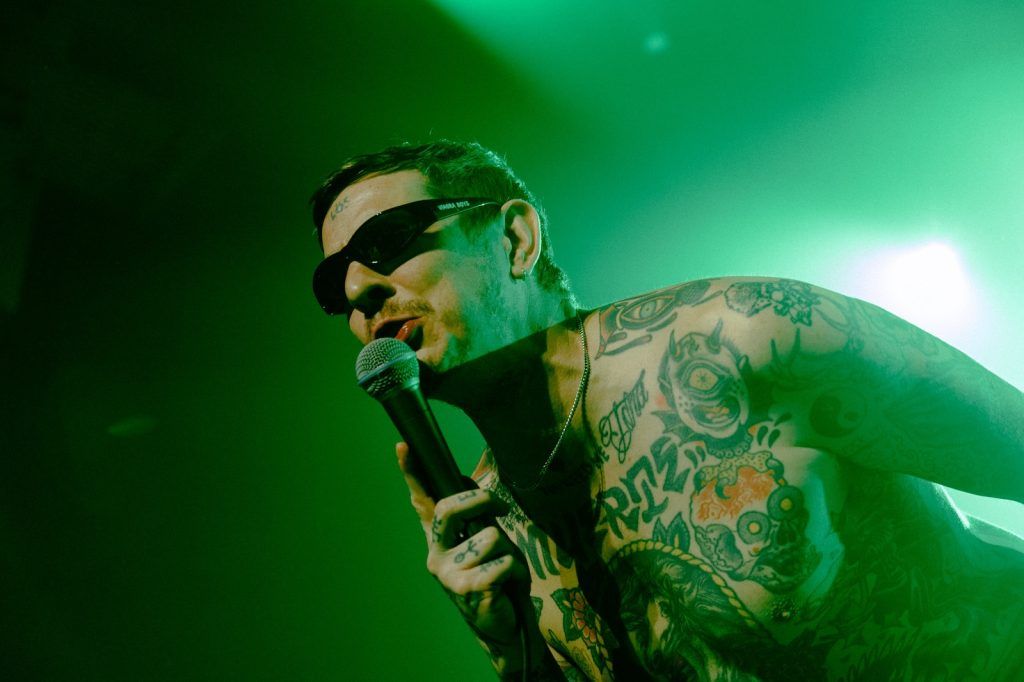
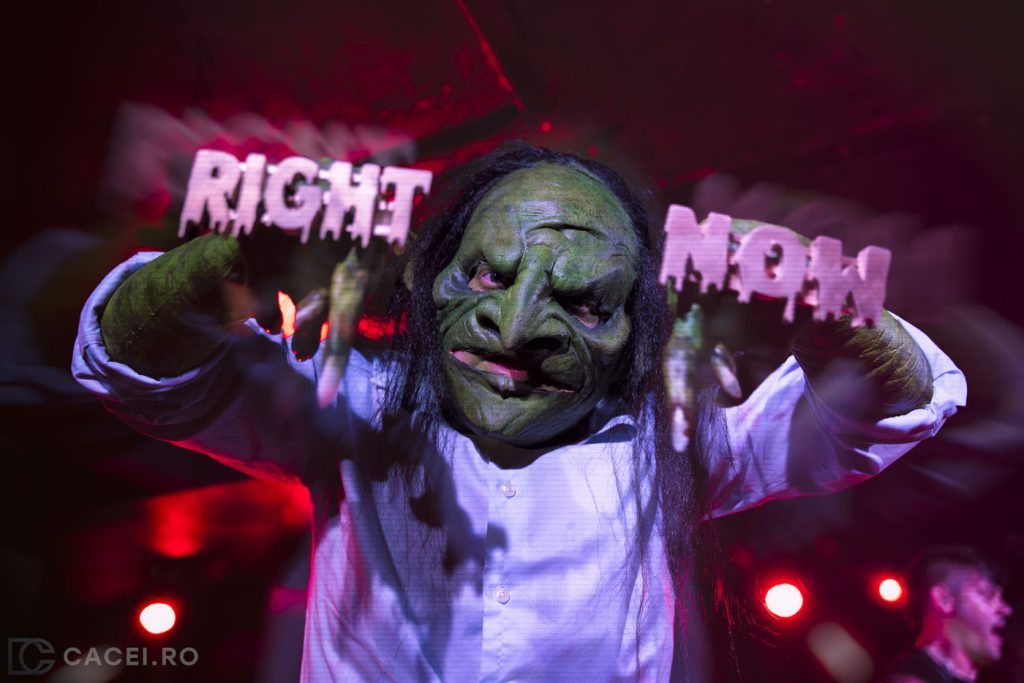
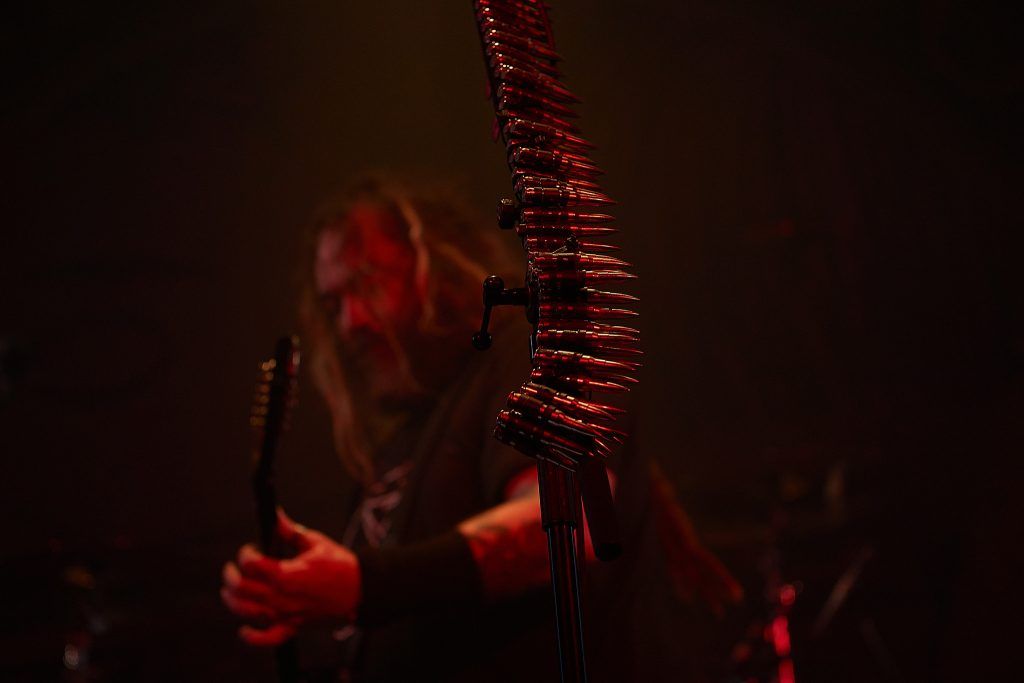
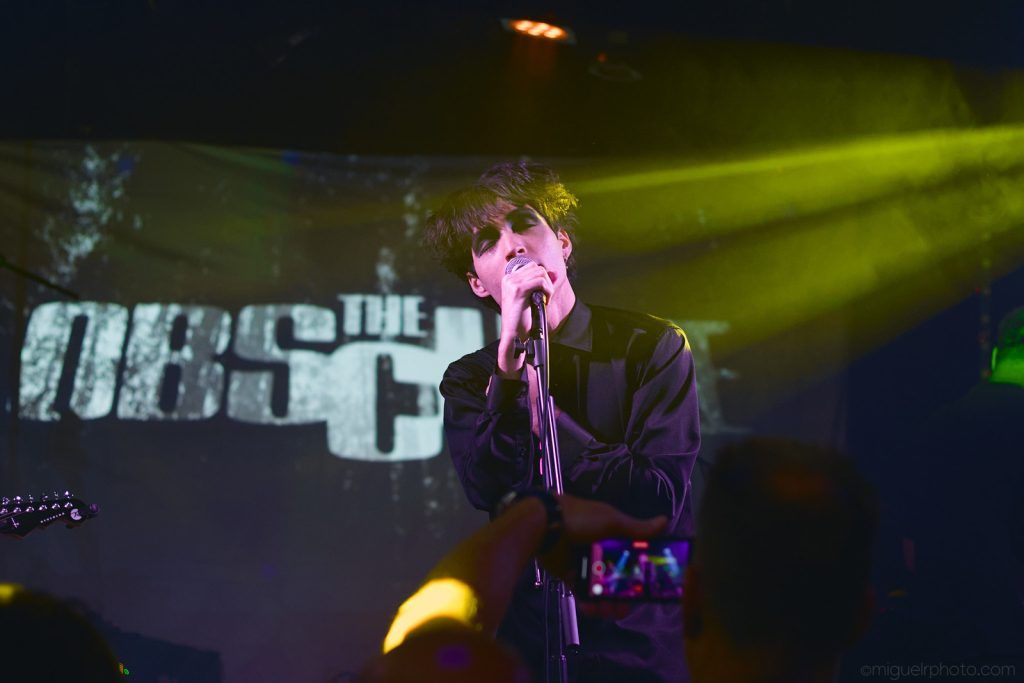
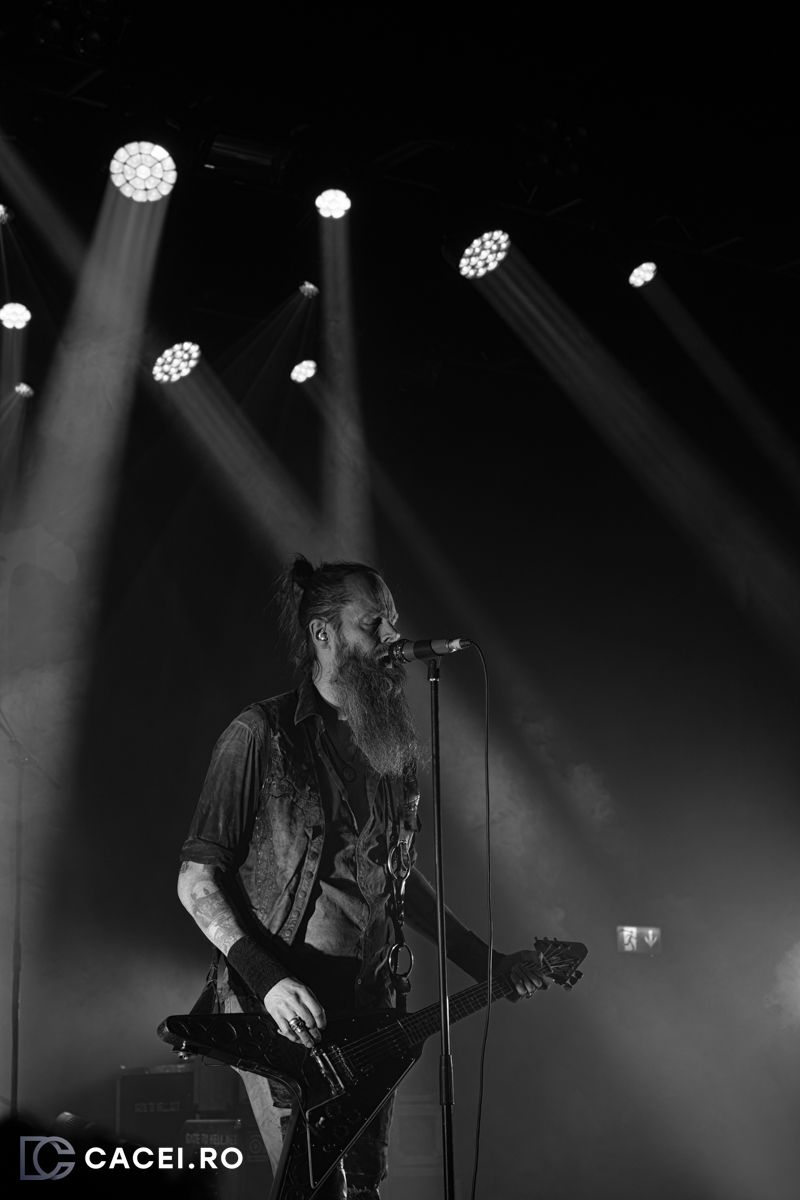
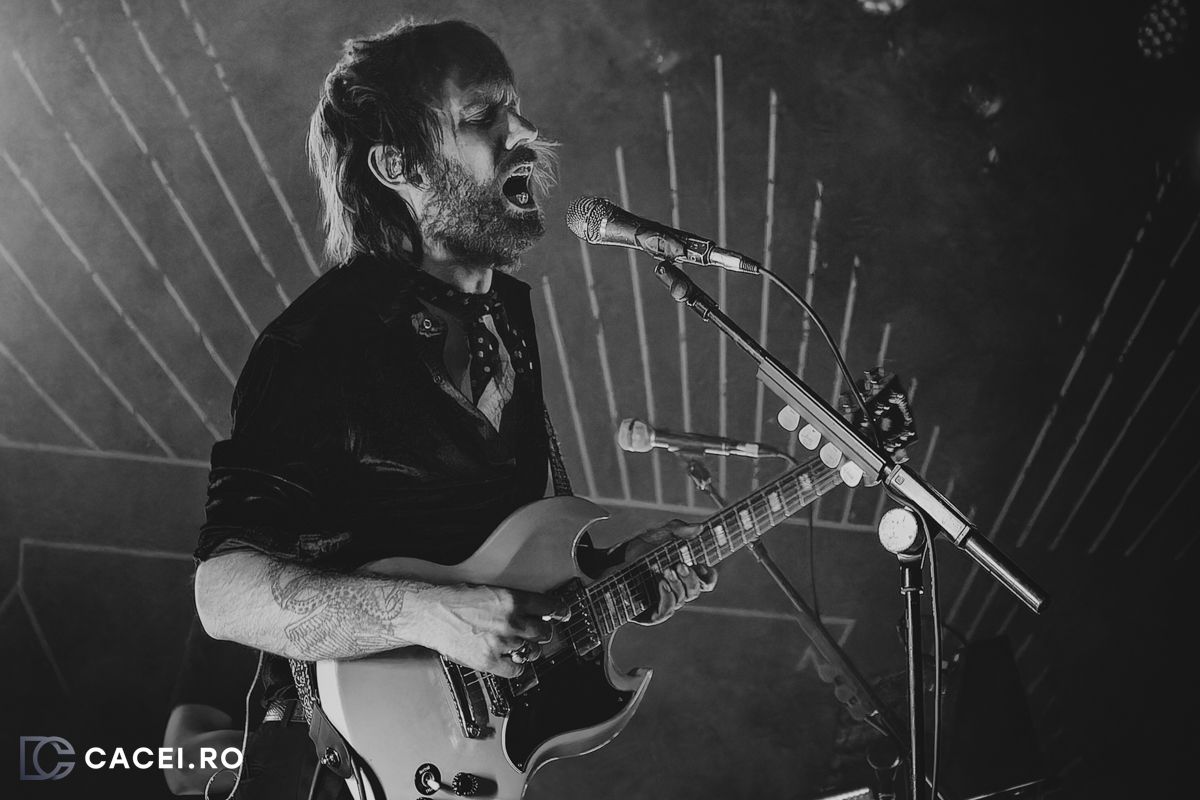
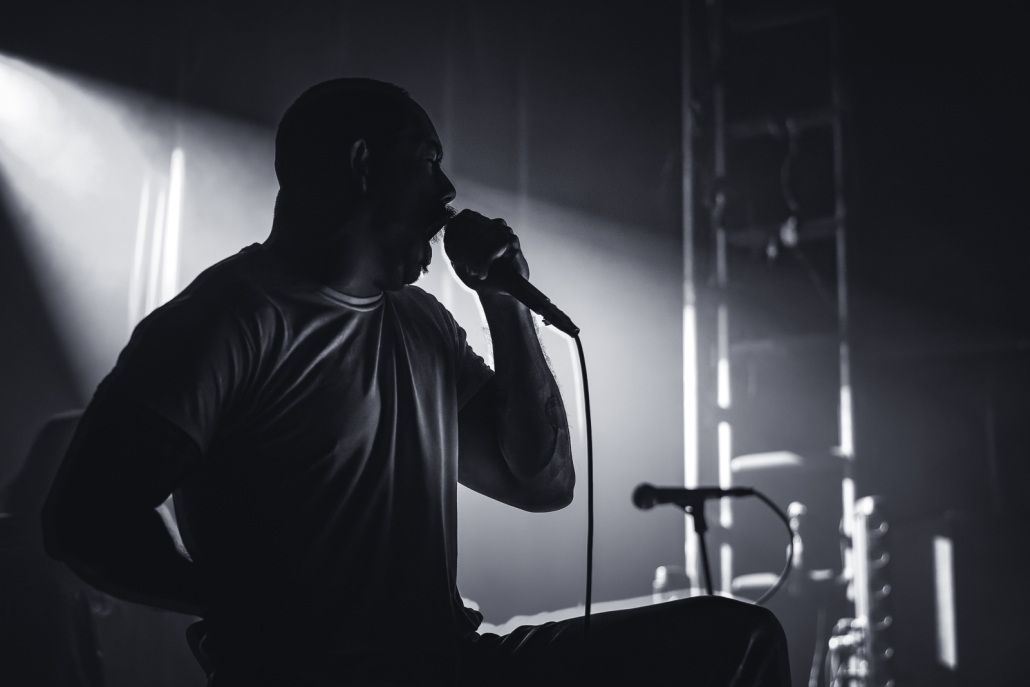
1. Low-Light Conditions
Metal concerts typically have dark, moody lighting that adds drama to the show but makes it tough to get clear shots. You’ll often need a high ISO (with modern mirrorless cameras you can easily go up to ISO 8000) to let in enough light. Pairing this with a wide aperture (f/2.8 or lower) helps your camera gather as much light as possible, improving image quality even in dim venues. Check some of my lens recommendations.
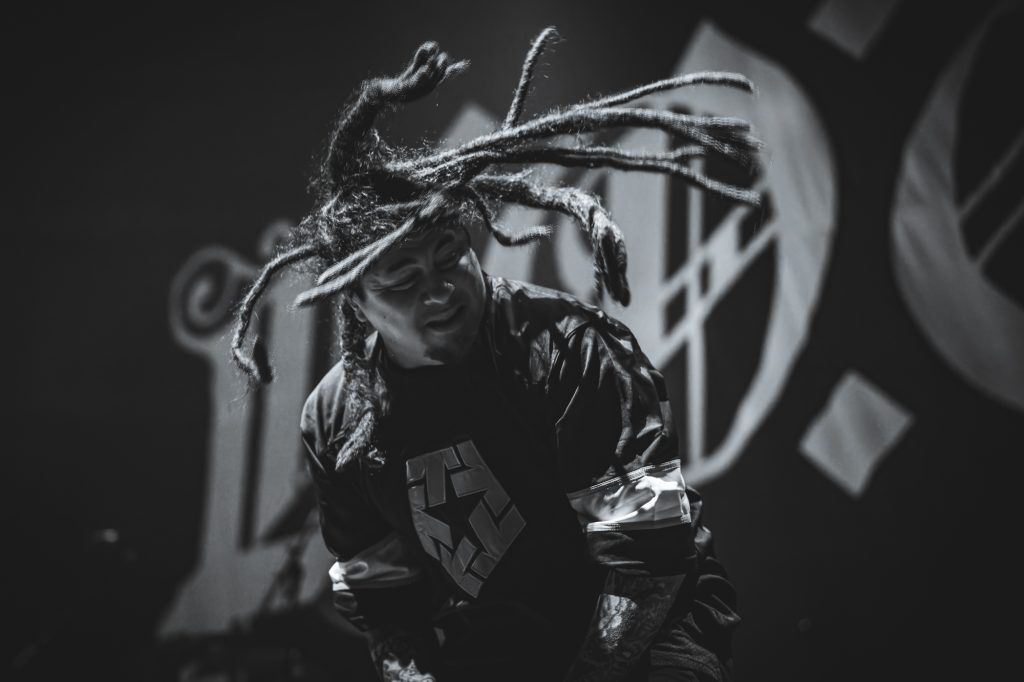
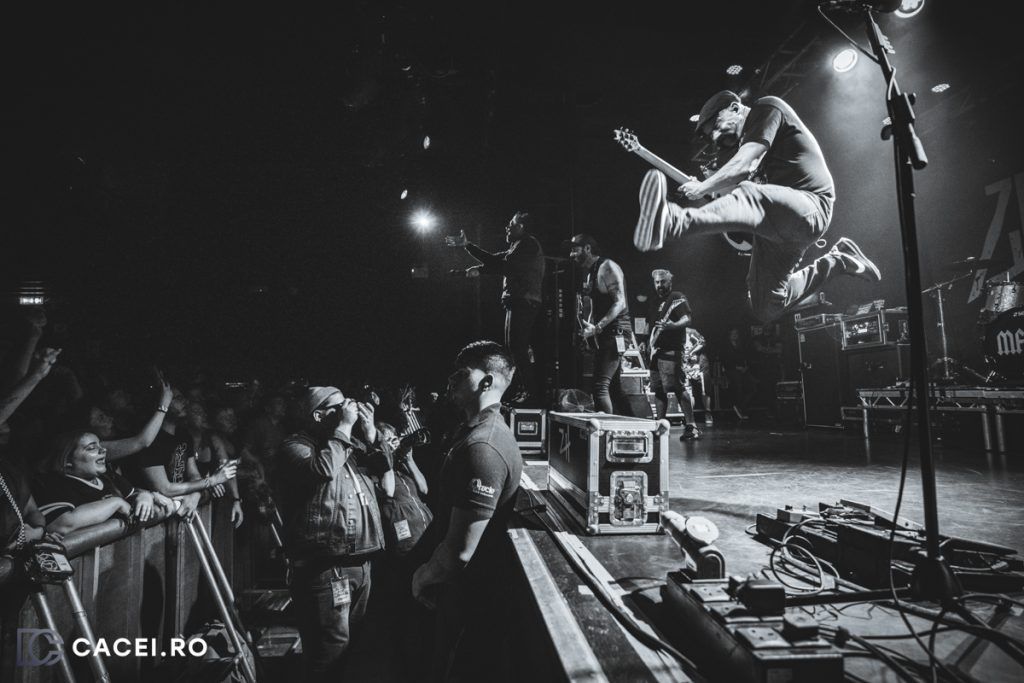
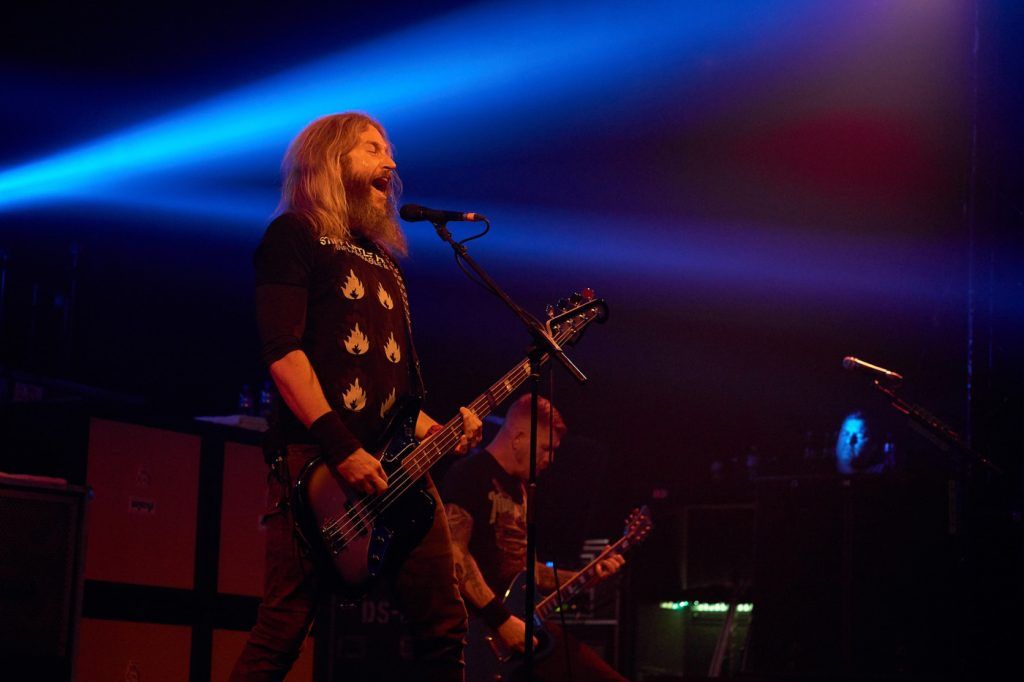
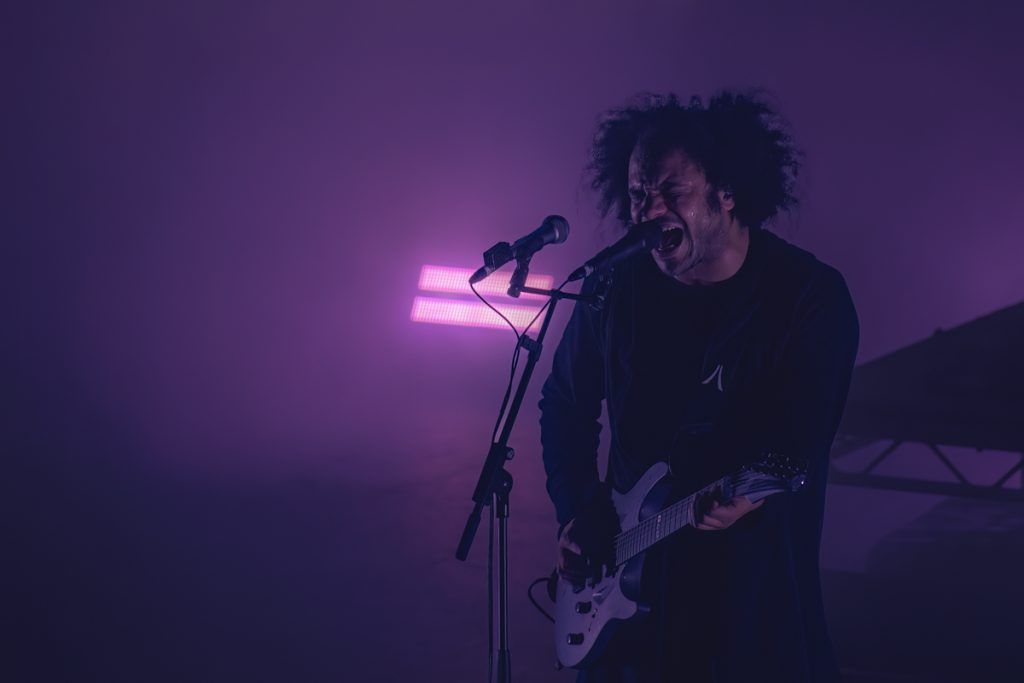
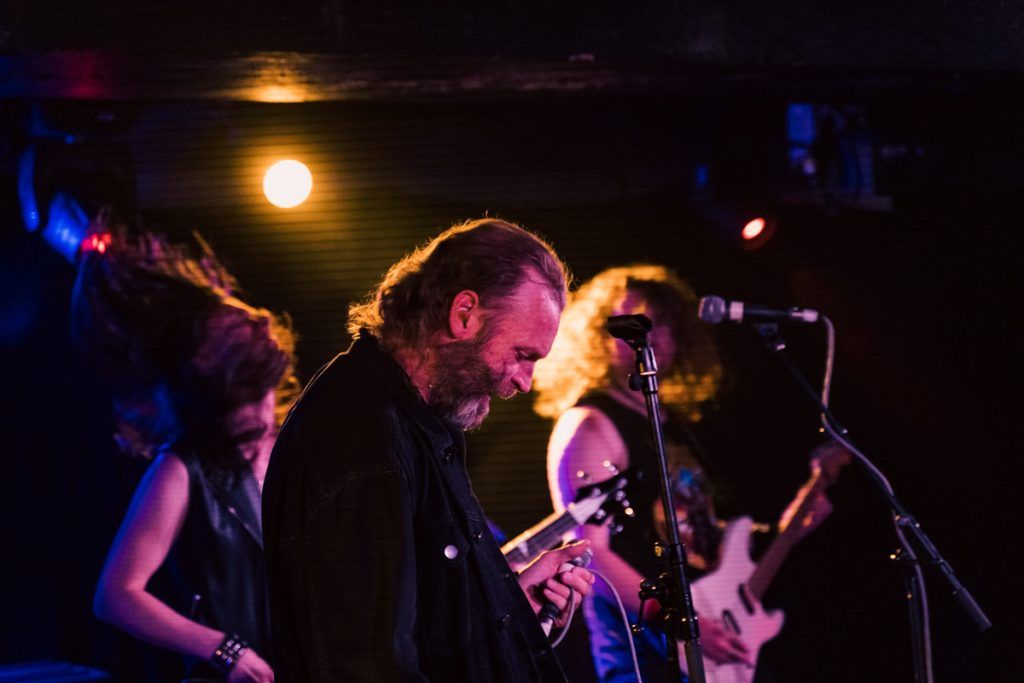
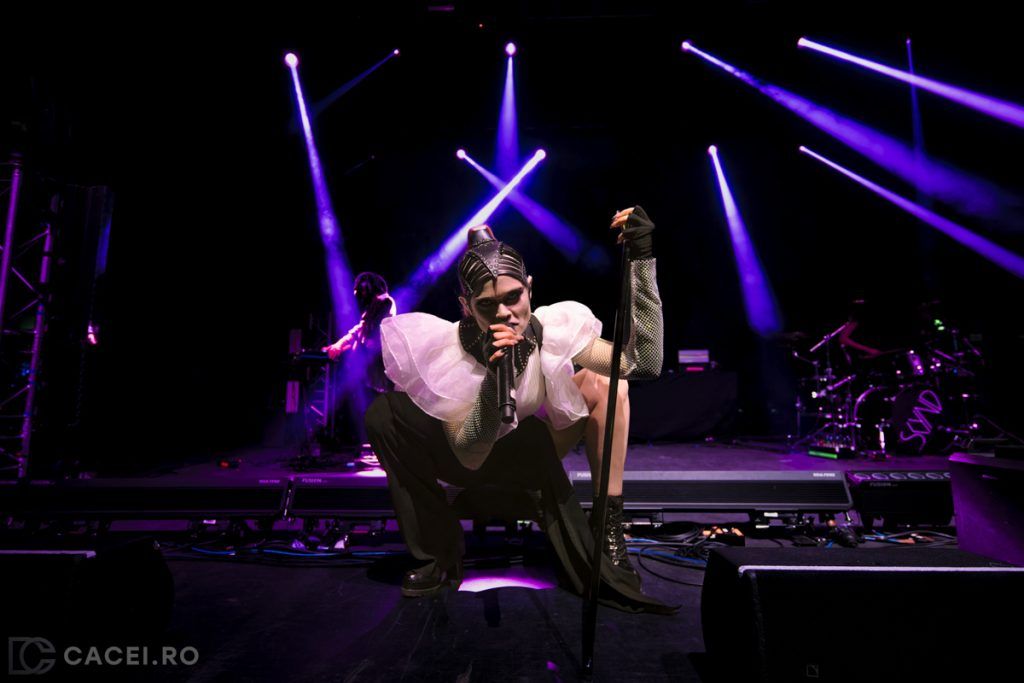
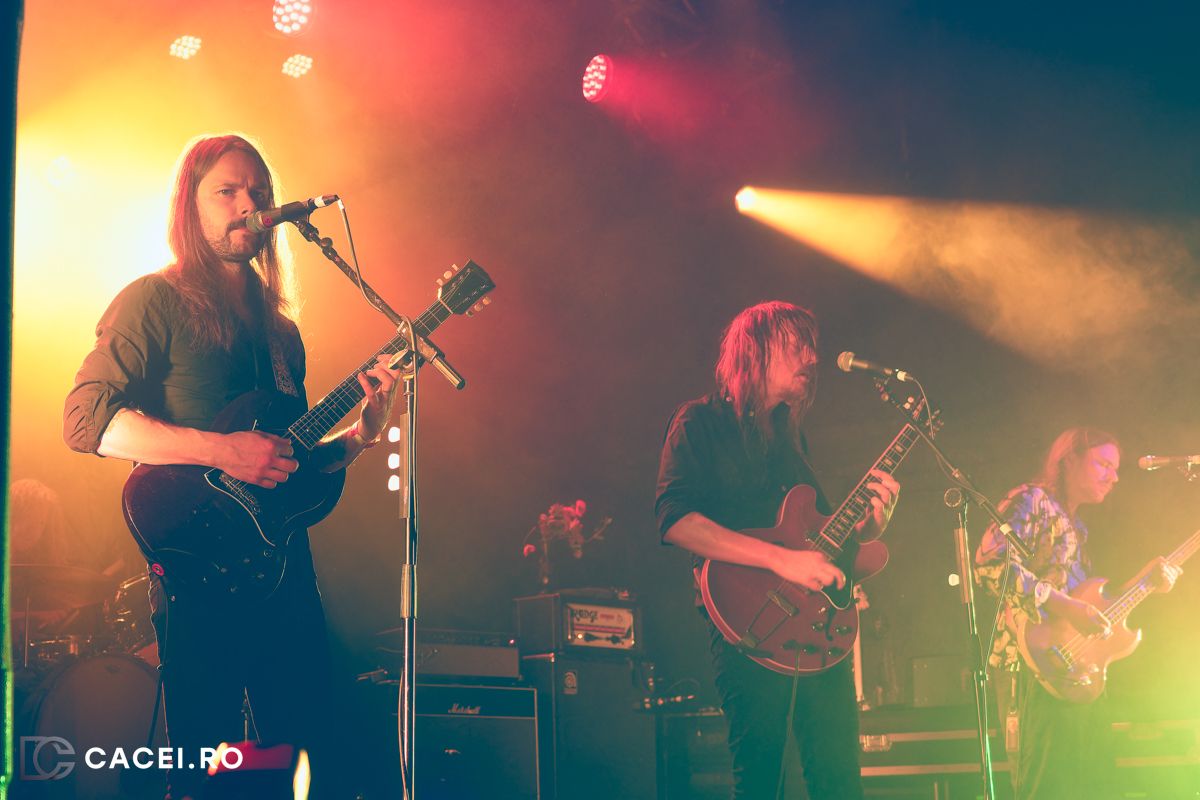
2. Fast-Paced Performances
Metal musicians are known for rarely standing still on stage (unless you’re shooting Doom/Stoner Metal). To keep up, you’ll need fast shutter speeds that freeze action. Continuous autofocus and burst mode can be lifesavers because they let you snap several images in quick succession, increasing your chances of capturing the perfect moment.
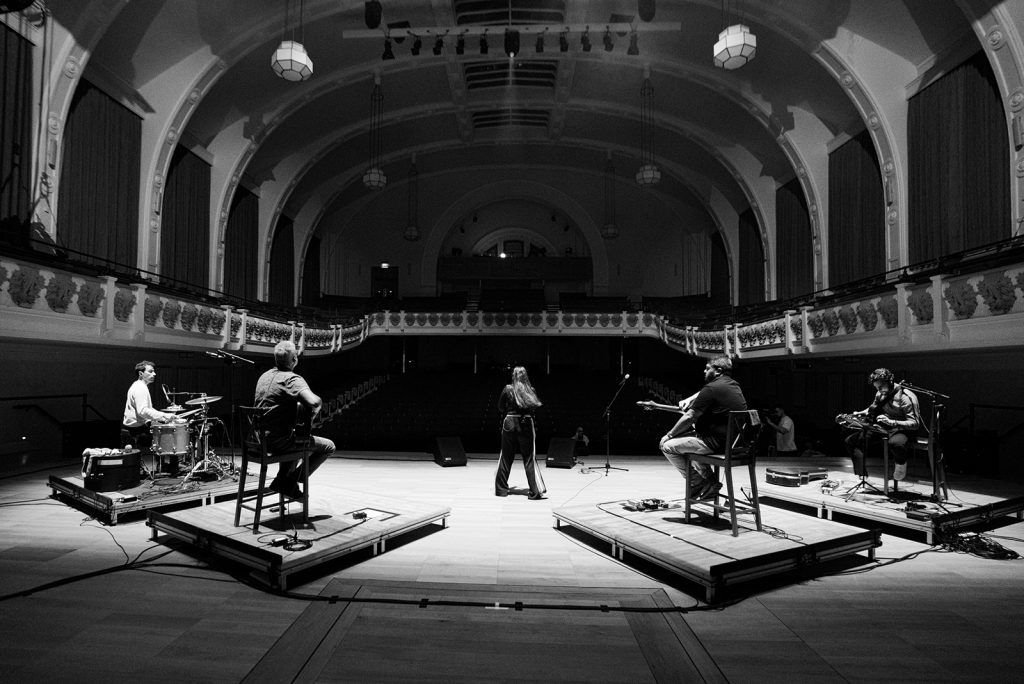
3. Crowded Venues
Large crowds are part of the metal experience, but they can also limit your movement and shooting angles. It’s important to find a balance between getting great shots and respecting other concertgoers. Look for vantage points ahead of time and be ready to adapt if fans start moshing nearby. This can be extra challenging on venues that have no pit or smaller pubs
Techniques for Successful Metal Concert Photography
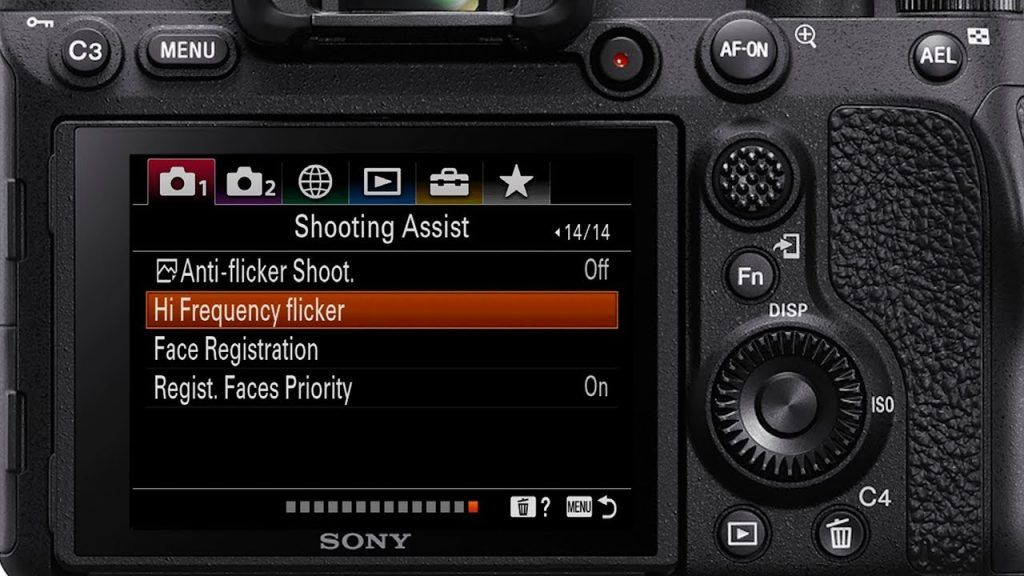
1. Understand Your Equipment
Learn your camera inside and out. Know how to adjust ISO, aperture, and shutter speed on the fly. Metal gigs usually have dramatic lighting that shifts quickly, so you should be comfortable tweaking settings without missing a beat. I personally have a few settings saved on memory, and prefer to keep one or two with Auto ISO with a limit in case it’s too hectic.
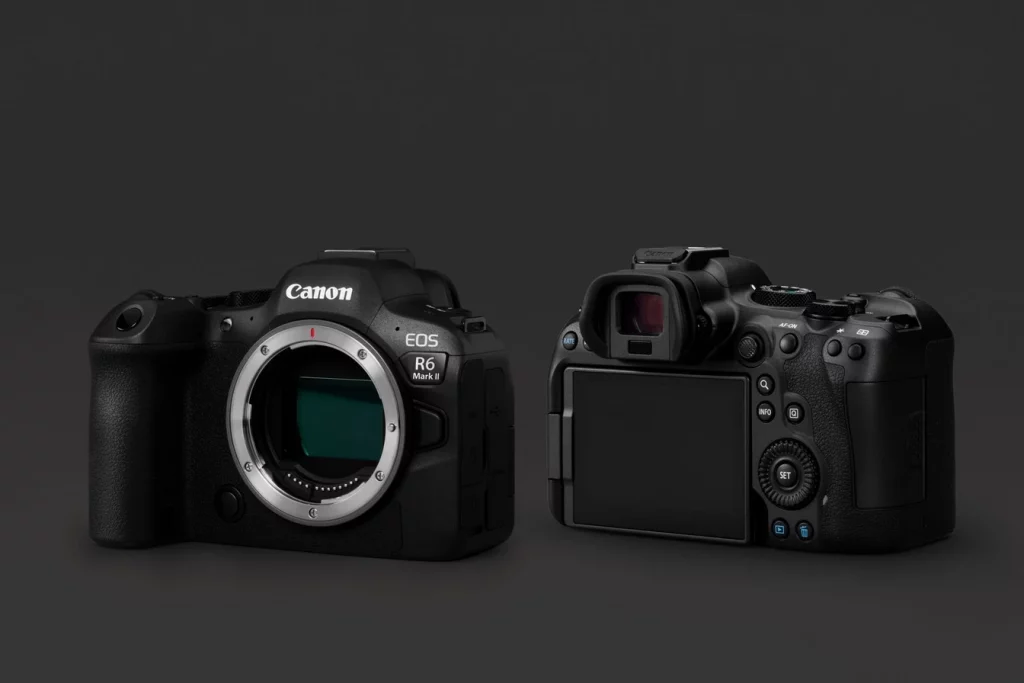
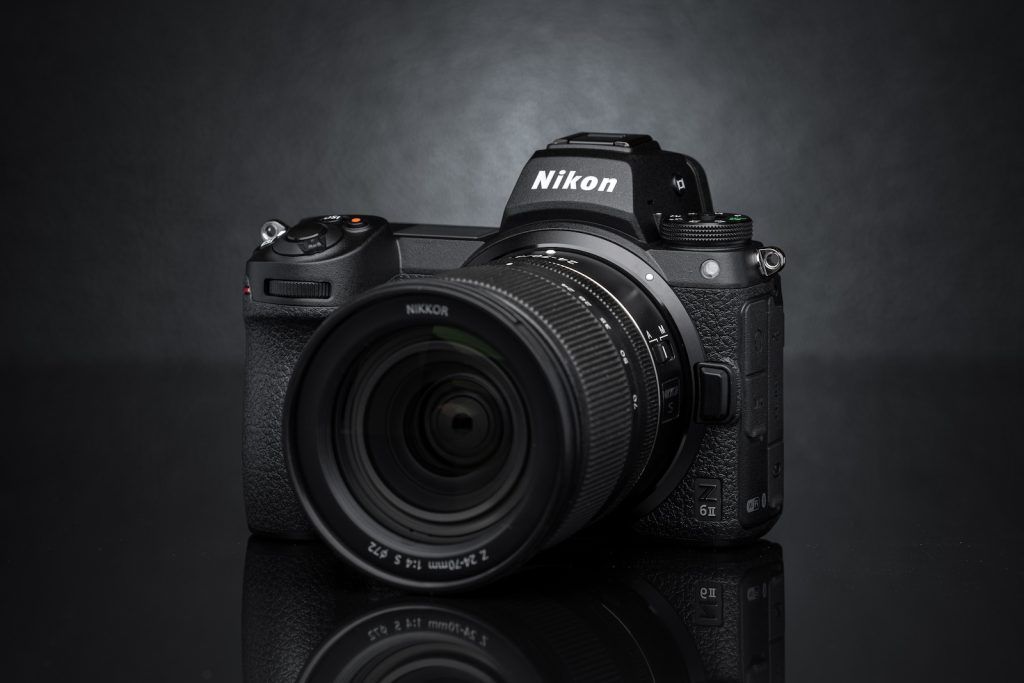
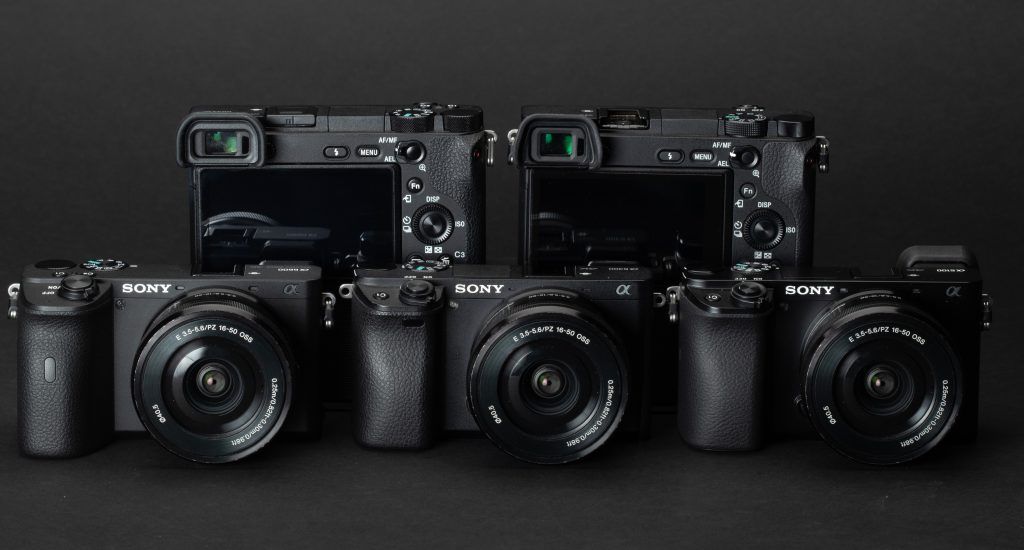
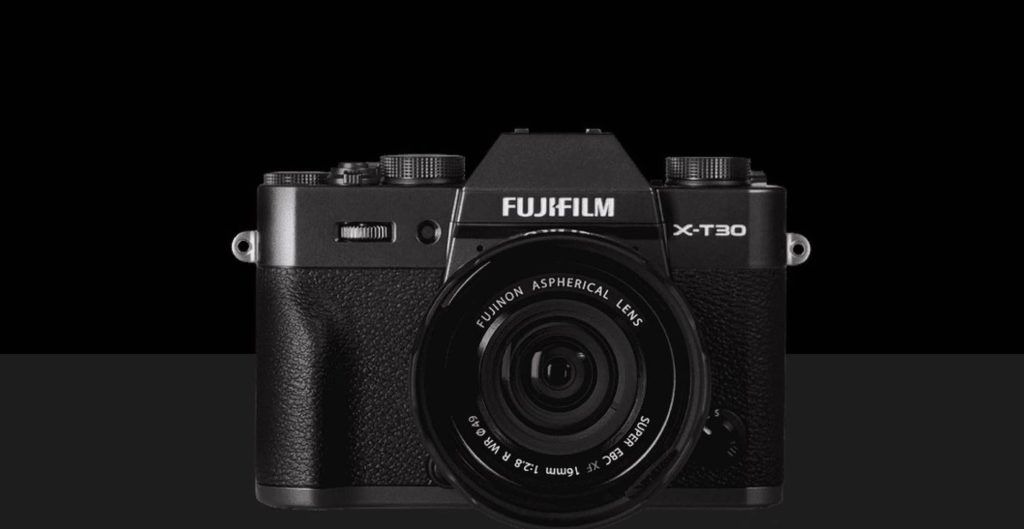
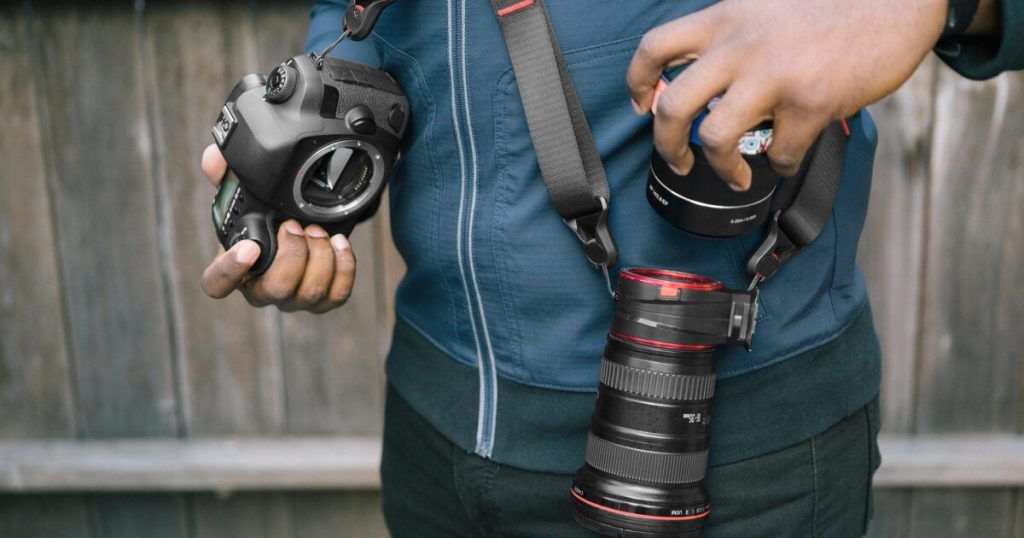
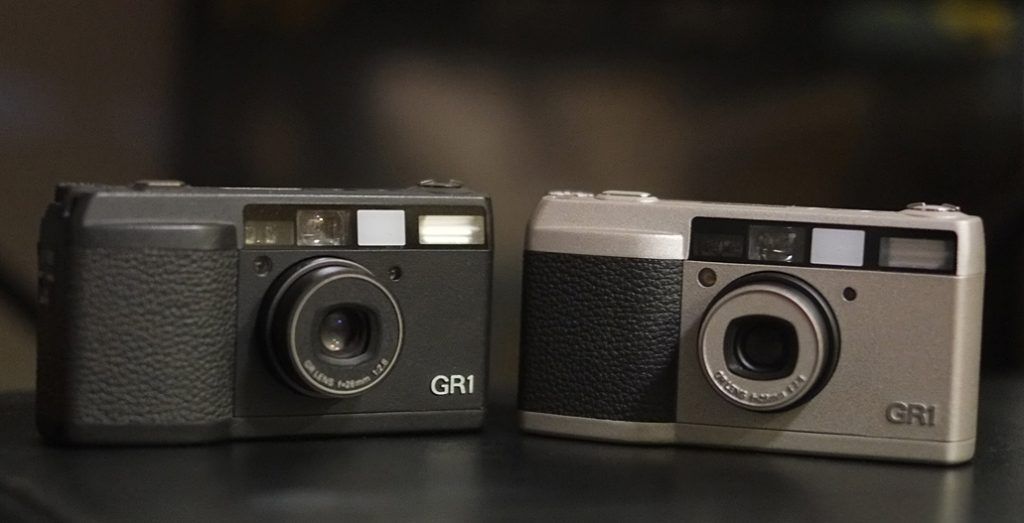
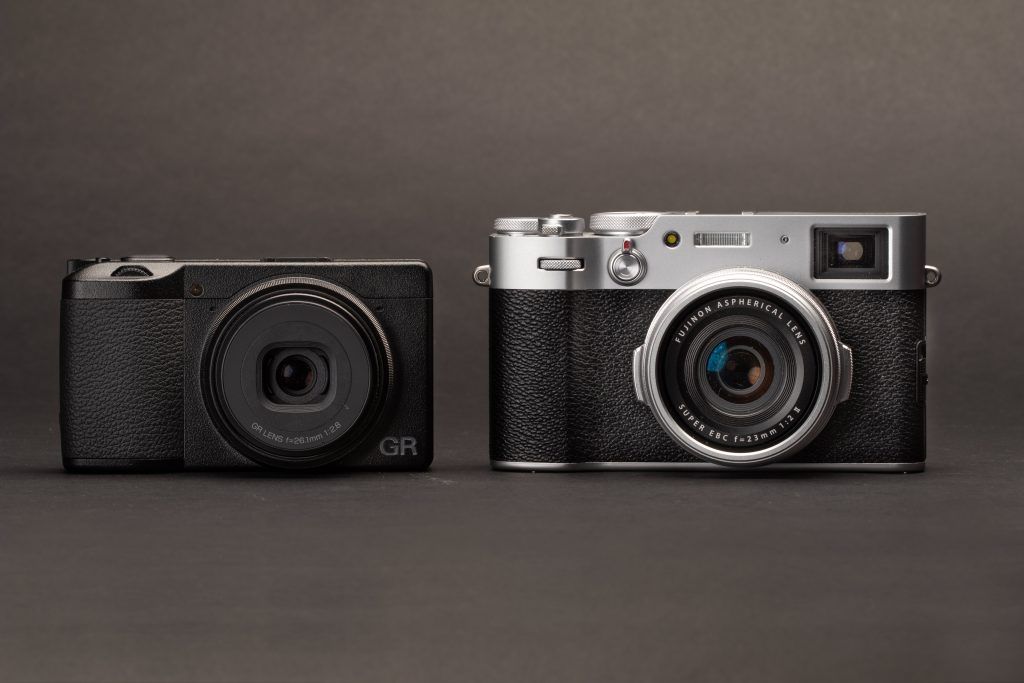
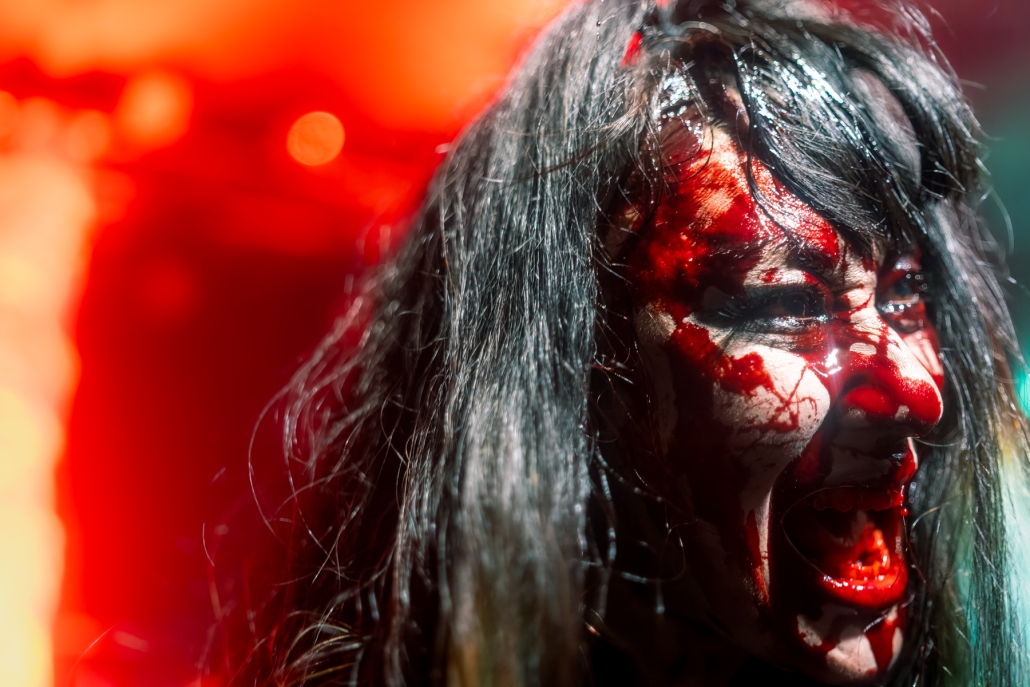
2. Choosing the Right Gear
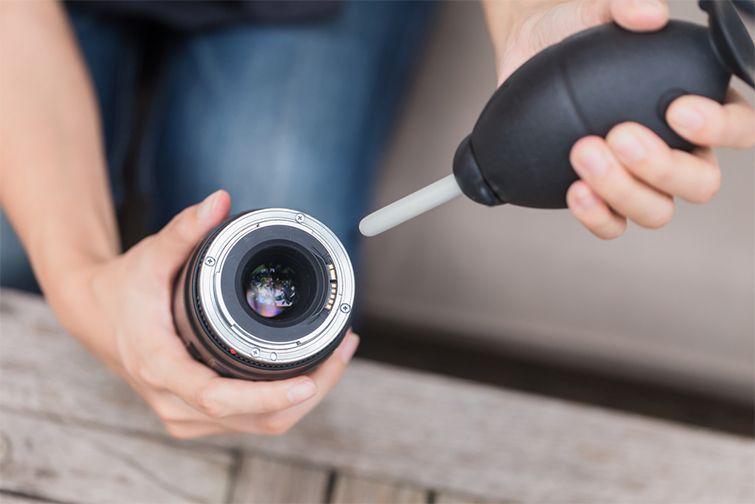
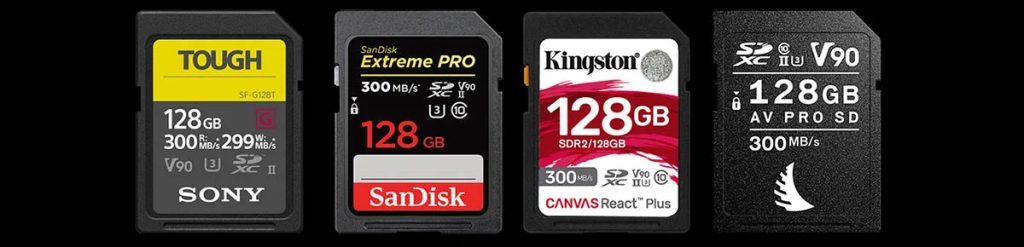
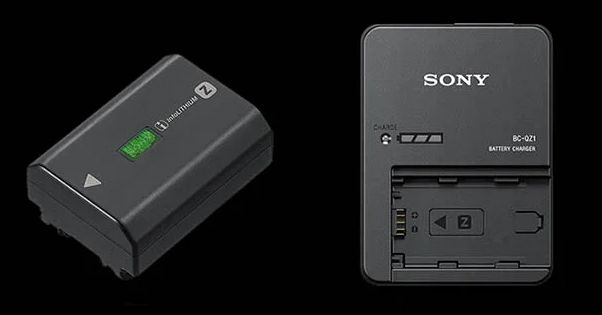
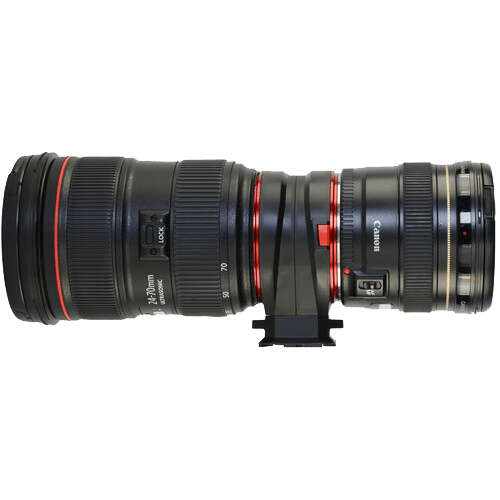
A DSLR or mirrorless camera with strong low-light performance is essential for metal concerts. Fast prime lenses (like a 50mm f/1.8 or 85mm f/1.4) can help you capture sharp images when lighting is unpredictable. Don’t forget extra batteries, memory cards, and a lens cleaning cloth—metal shows can get intense and long (for example some fake blood from Sigh recently coming into my camera and lenses)
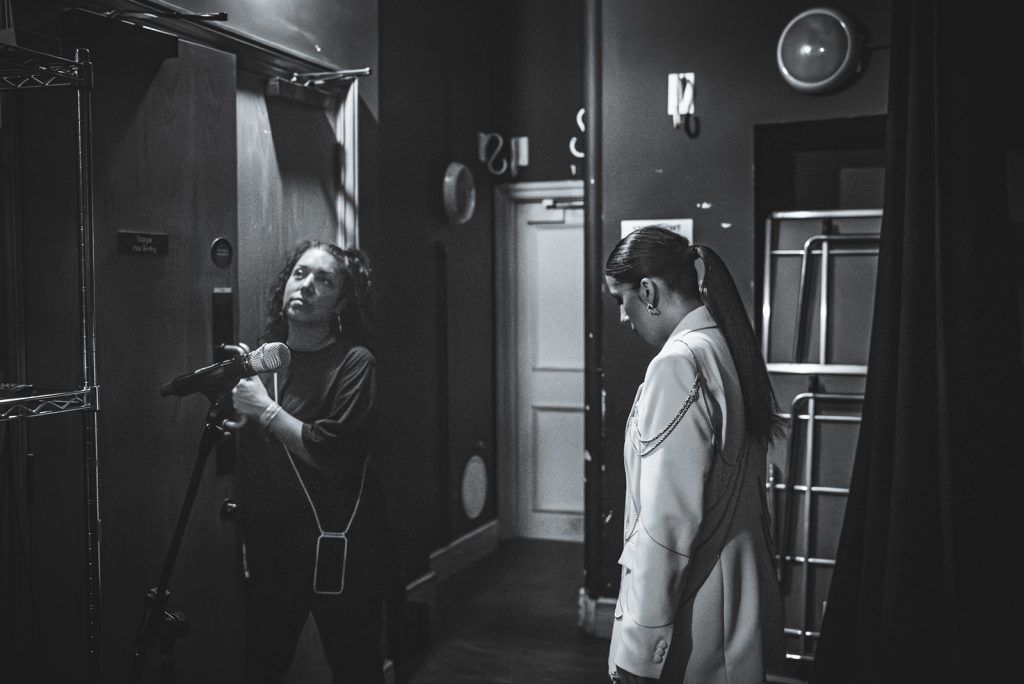
3. Scoping the Venue
Arrive early to figure out the layout, lighting setup, and any house rules. This prep time can reveal the best places to stand for different angles and help you plan shots without disturbing the performance or the audience. In most of smaller venues I tend to talk to members of the audience to tell them I may show up for a photo or two and then leave them back at their place.
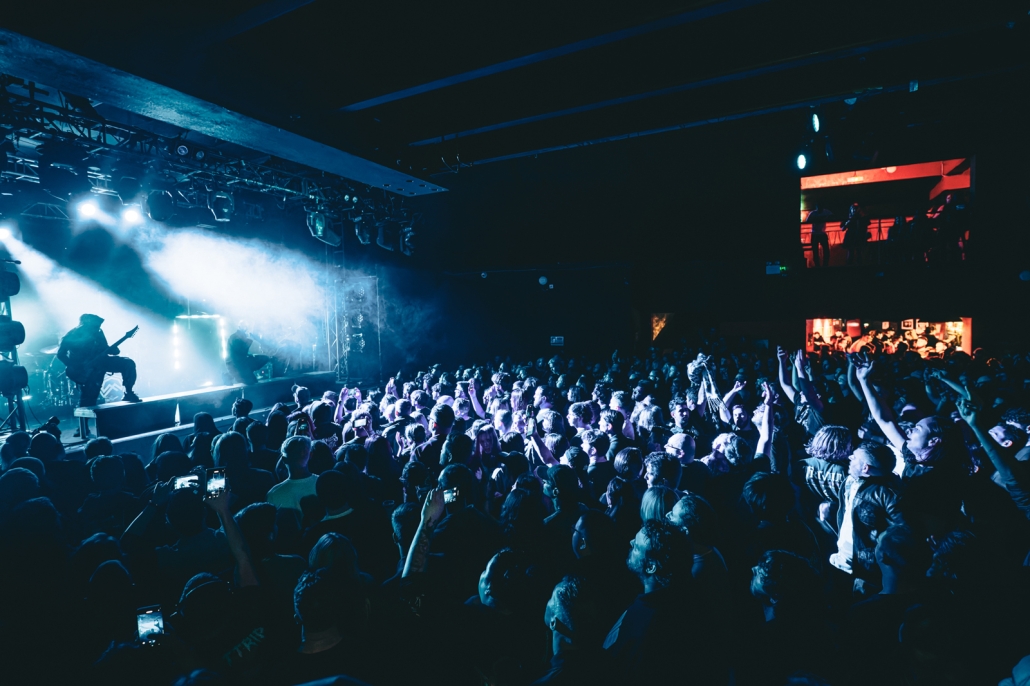
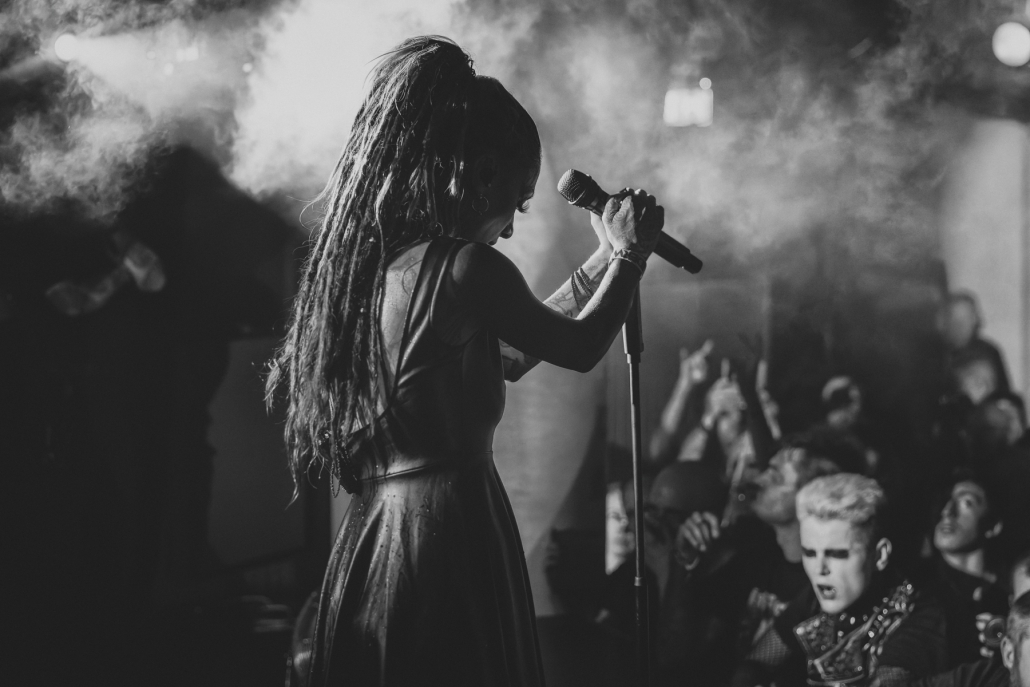
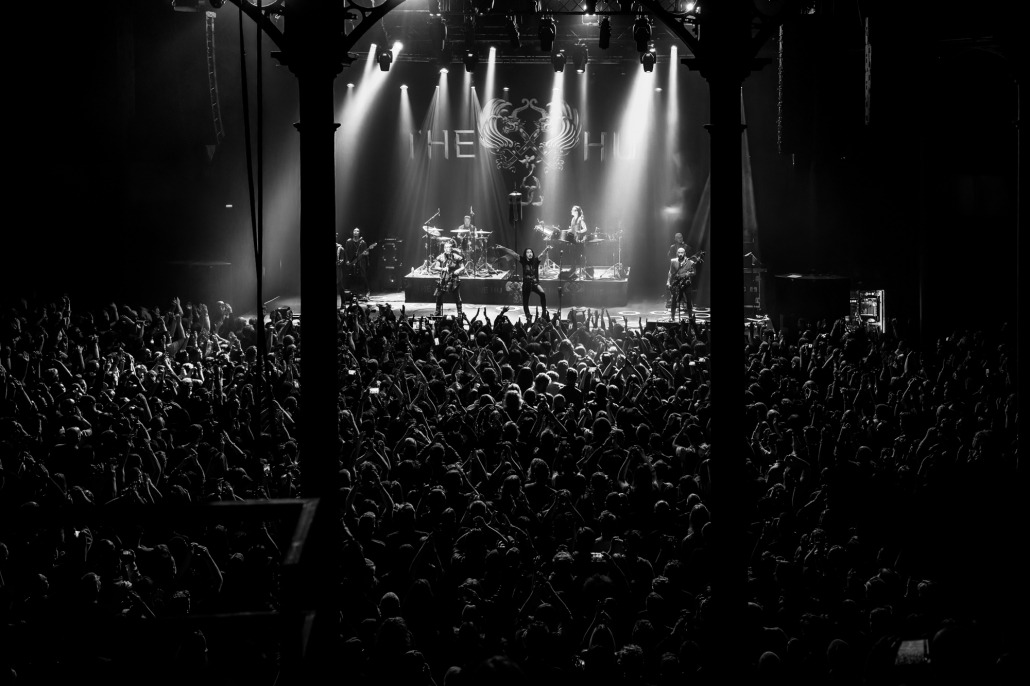
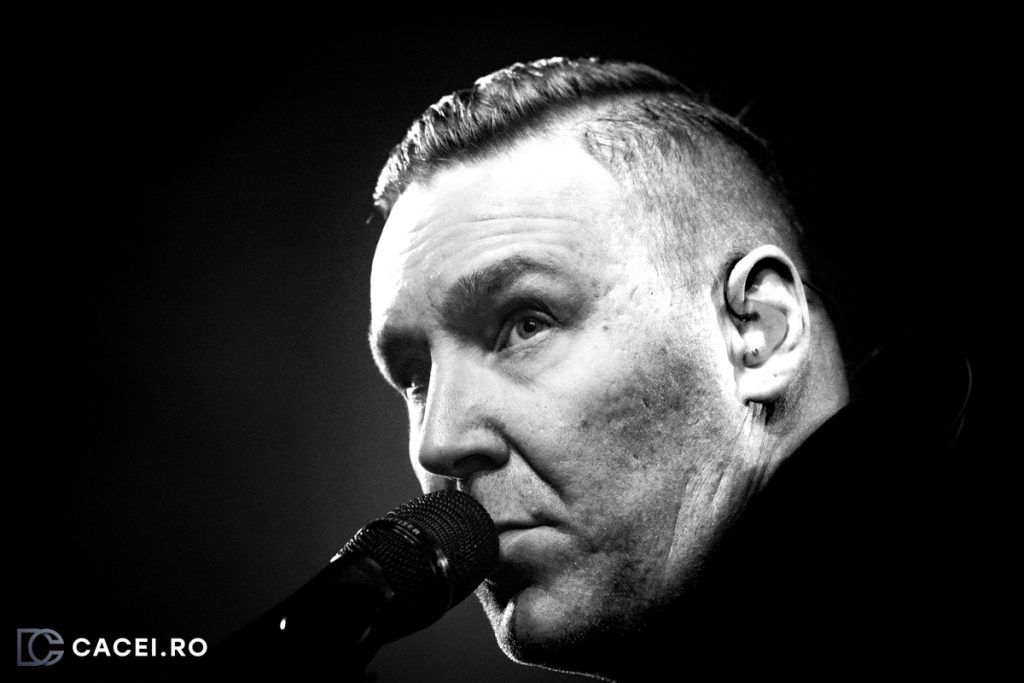
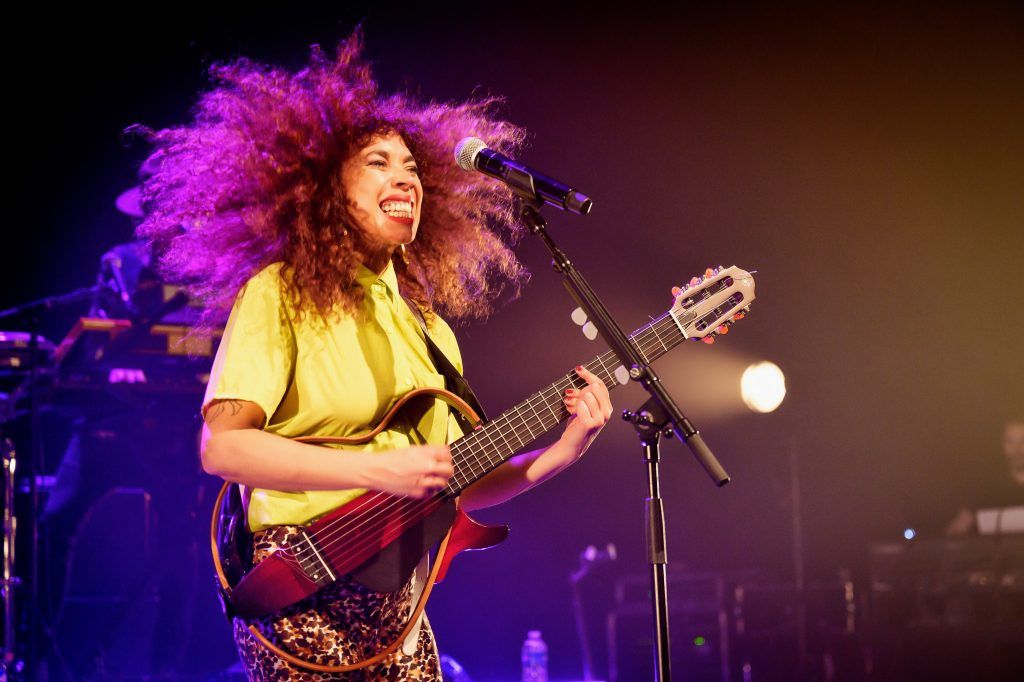
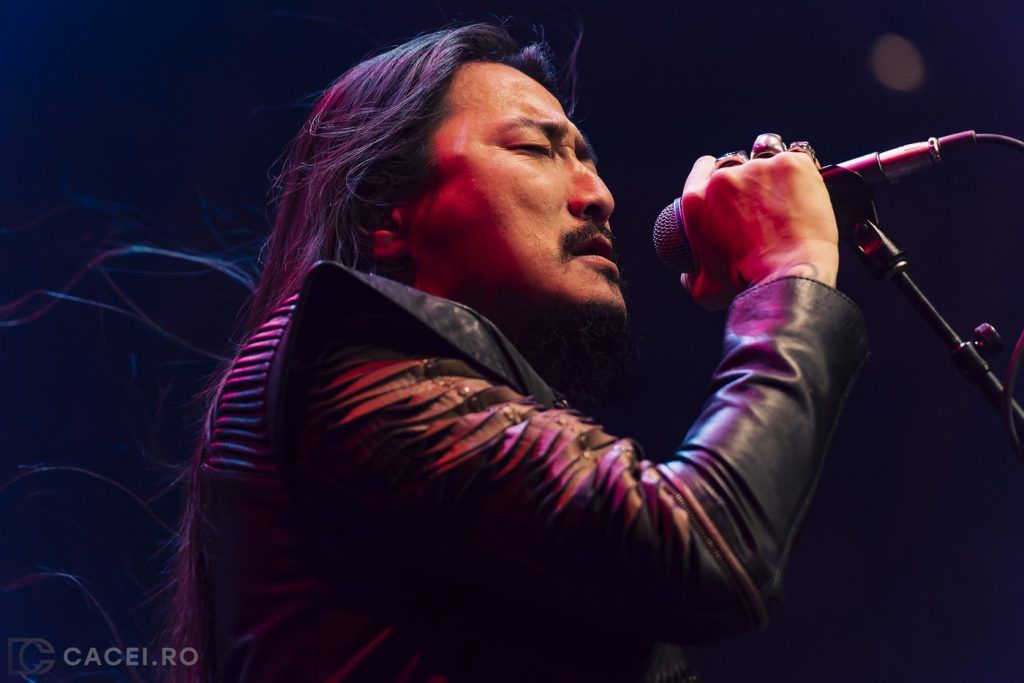
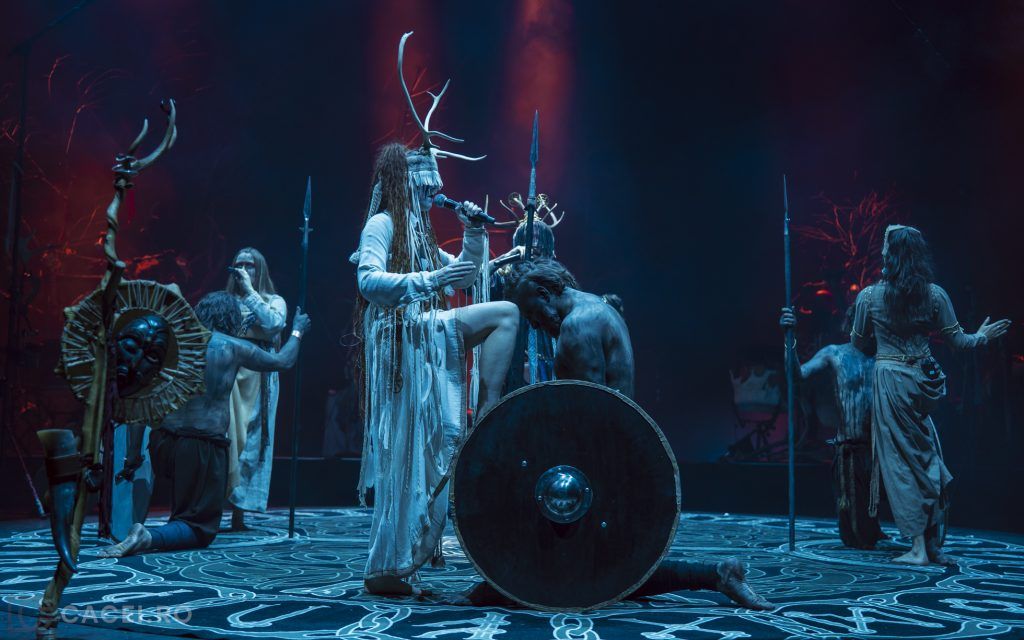
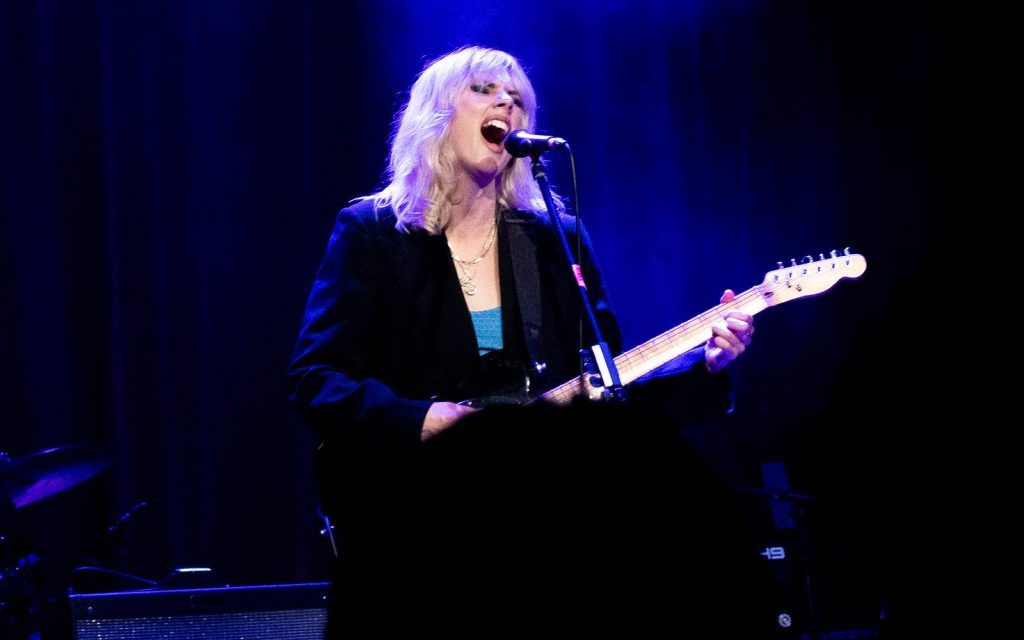
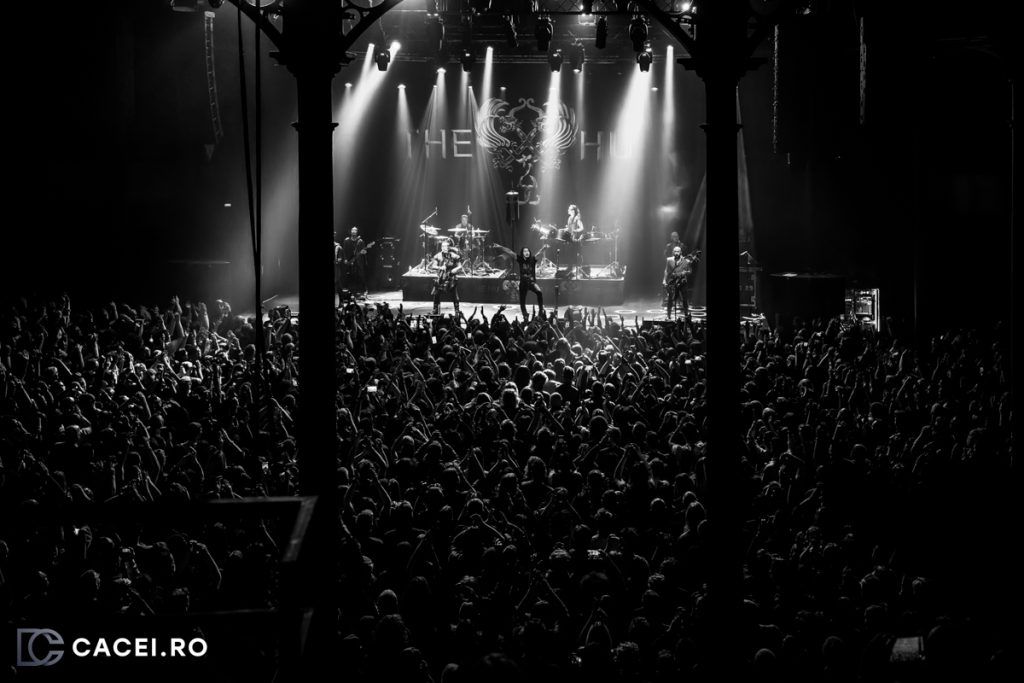
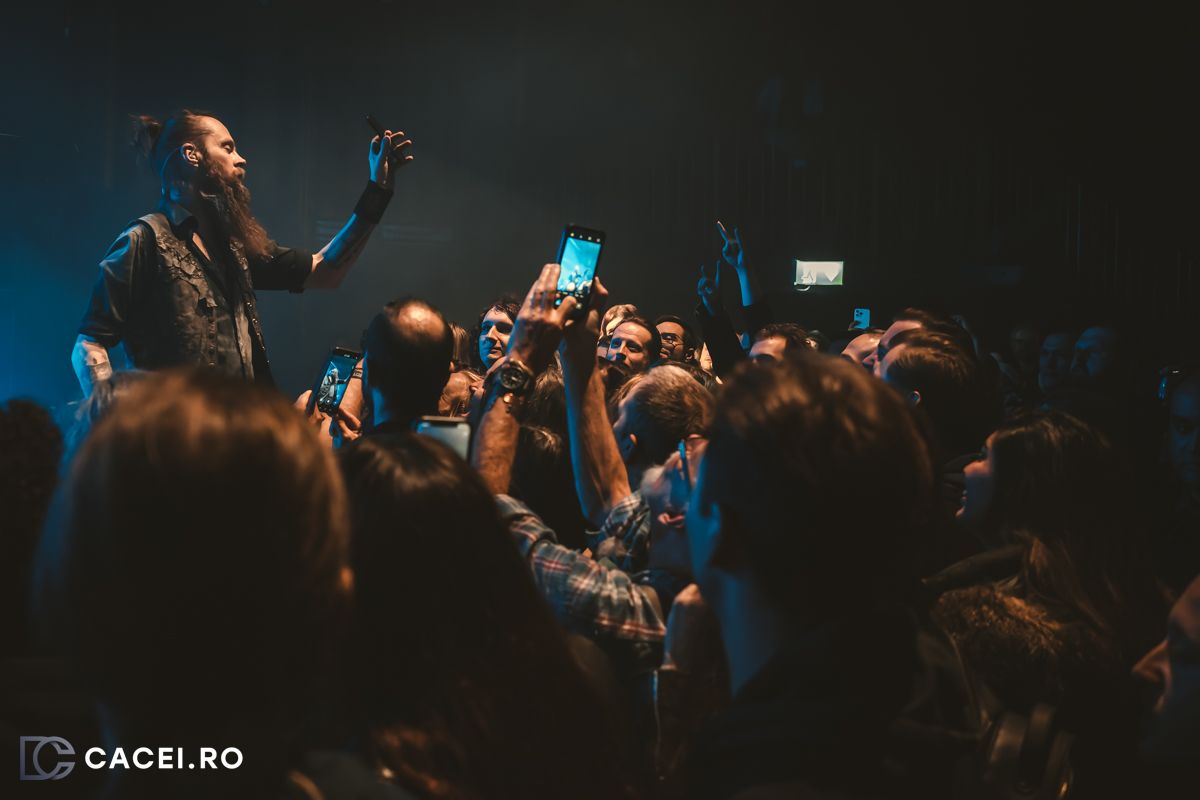
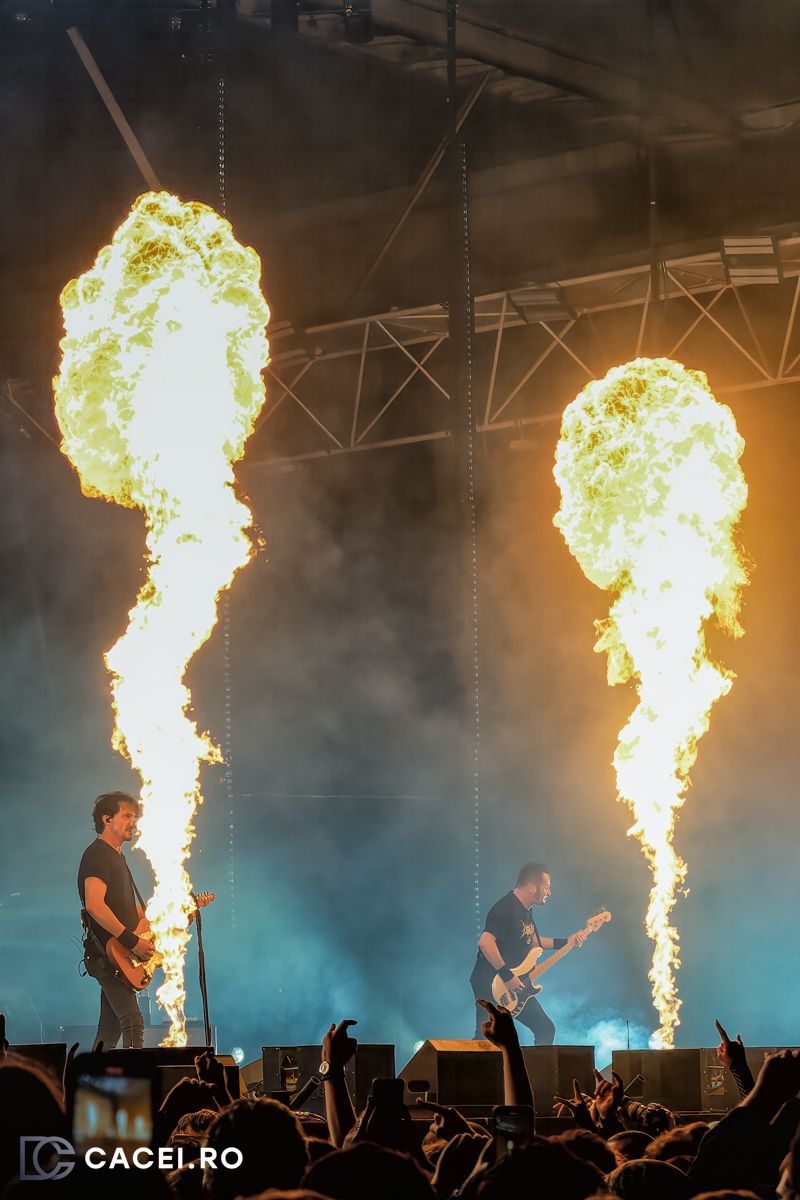
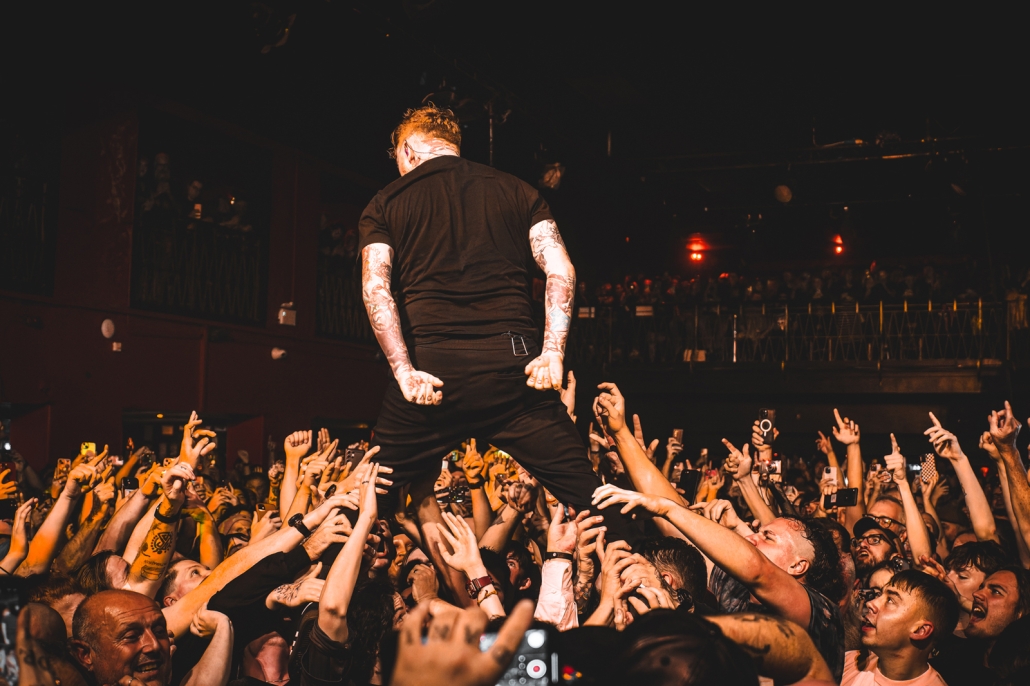
4. Capturing Atmosphere and Emotion
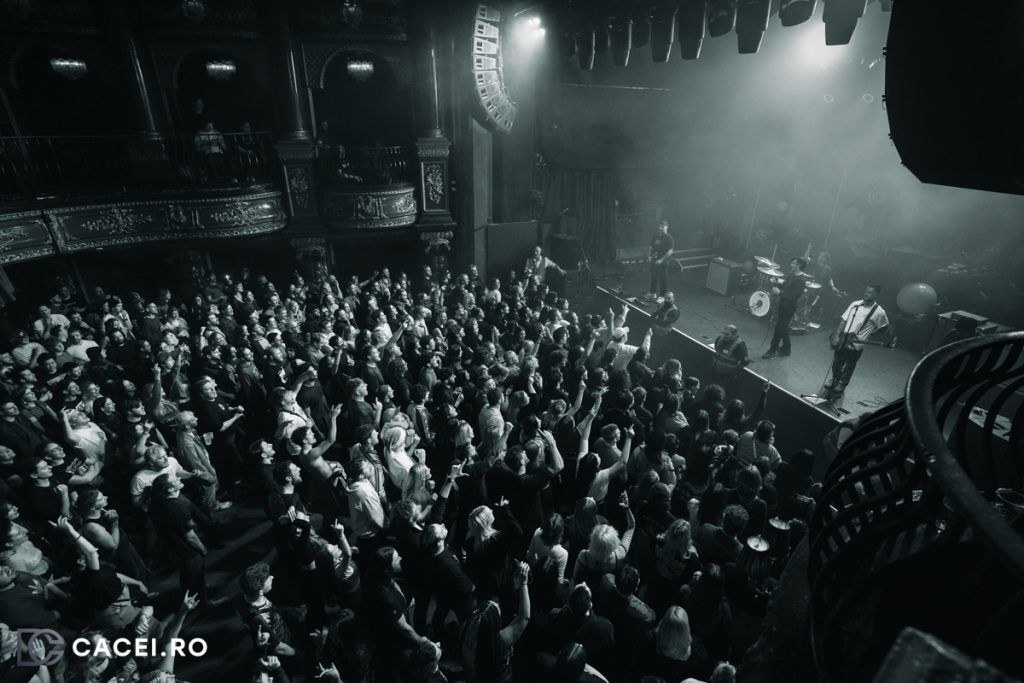
While the band is the star of the show, the crowd’s energy can be just as important. Wide-angle shots can capture the venue’s vibe, and close-ups of enthusiastic fans can highlight the emotional connection between the performers and the audience.
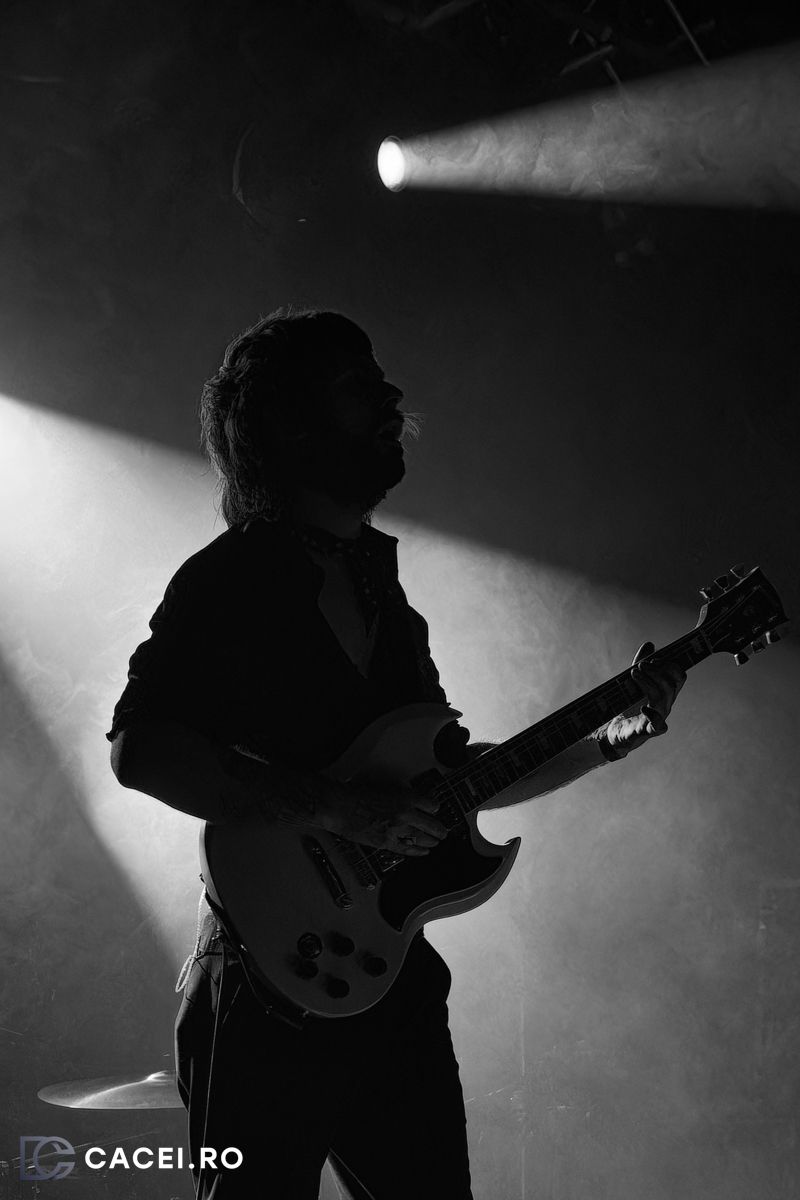
5. Mastering Techniques
Metal concerts demand swift reflexes. Use fast shutter speeds to freeze guitarists. Experiment with different compositions and angles—getting low to the stage or finding a balcony can produce good results.
6. Post-Processing Considerations
Editing should enhance your strong shots rather than rescue weak ones. Focus on your best images, and use tools like Adobe Lightroom or Photoshop to adjust lighting, colour, and contrast. Small changes can boost the intensity you experience at the show.
Post-Processing and Editing
1. Basic Adjustments
Start with exposure and white balance. Concert lights can vary wildly, so you might need to correct underexposed areas or neutralize odd colour casts.
2. Noise Reduction
Shooting with high ISO often leads to grainy images. Use noise reduction tools sparingly to keep important details sharp. Overdoing it can make photos look unnatural.
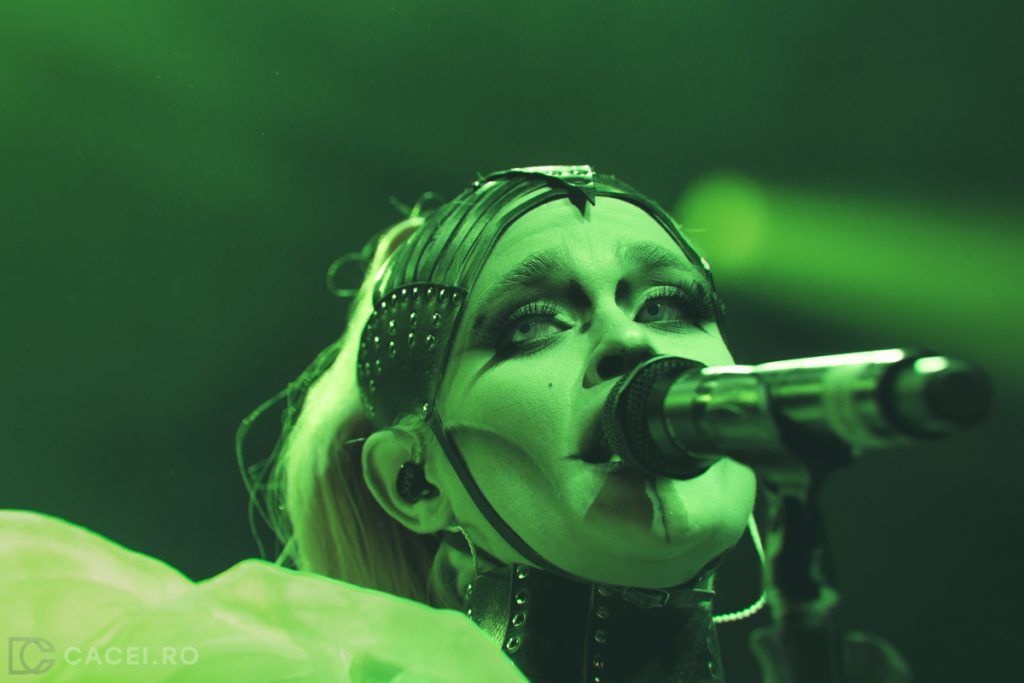
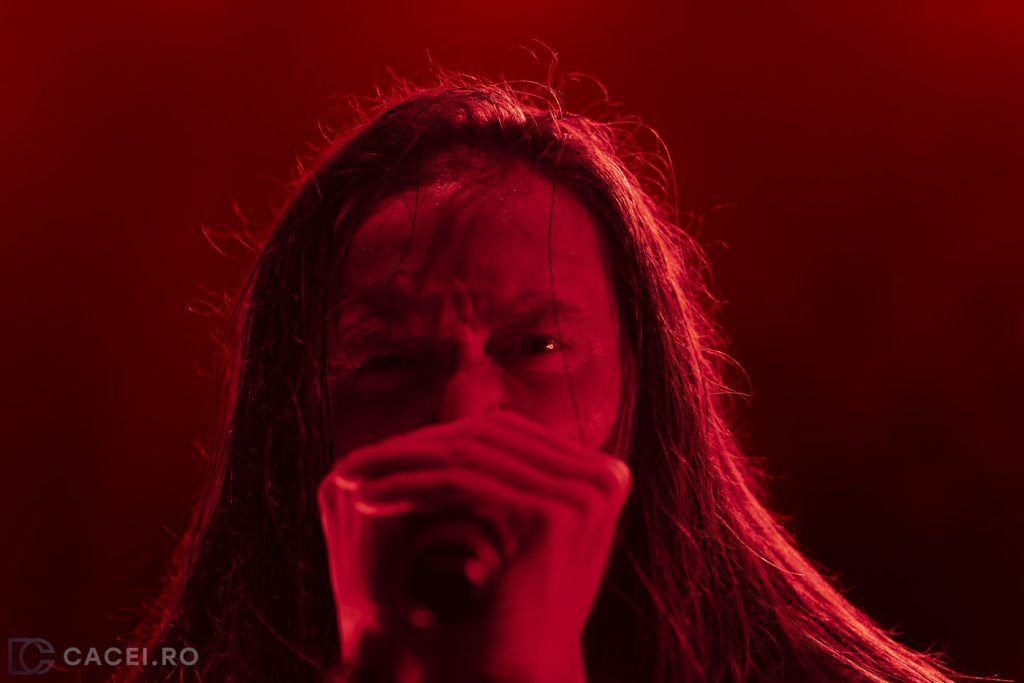
3. Color Enhancement
Metal concerts usually feature intense lighting. Adjust hue, saturation, and selective colour to bring out vivid stage lights and correct any weird colour casts. Be mindful of skin tones when boosting colours.
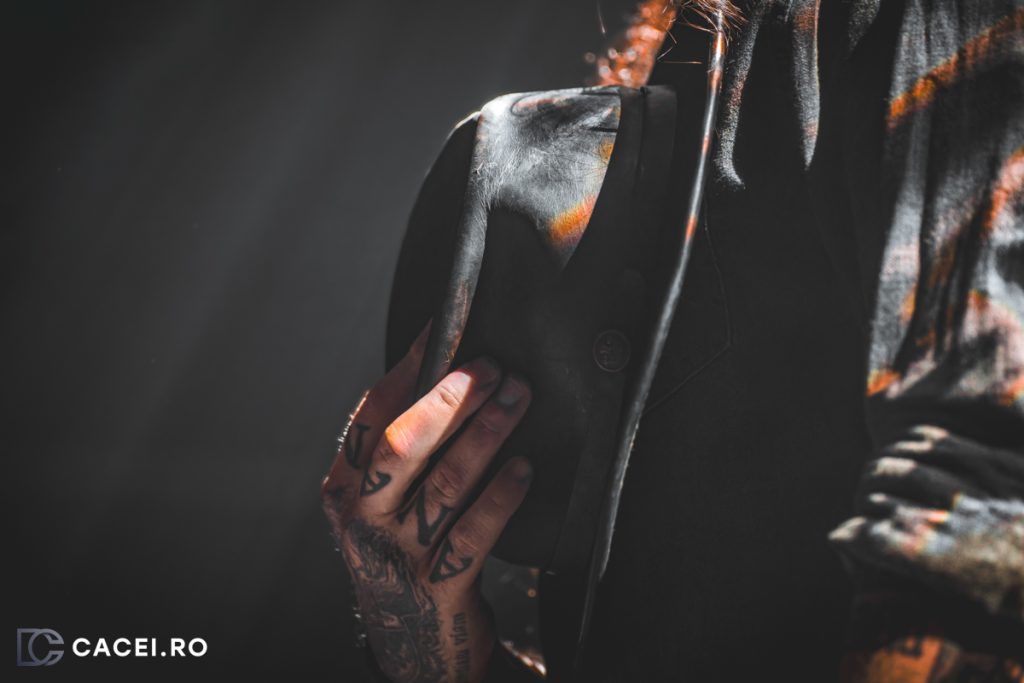
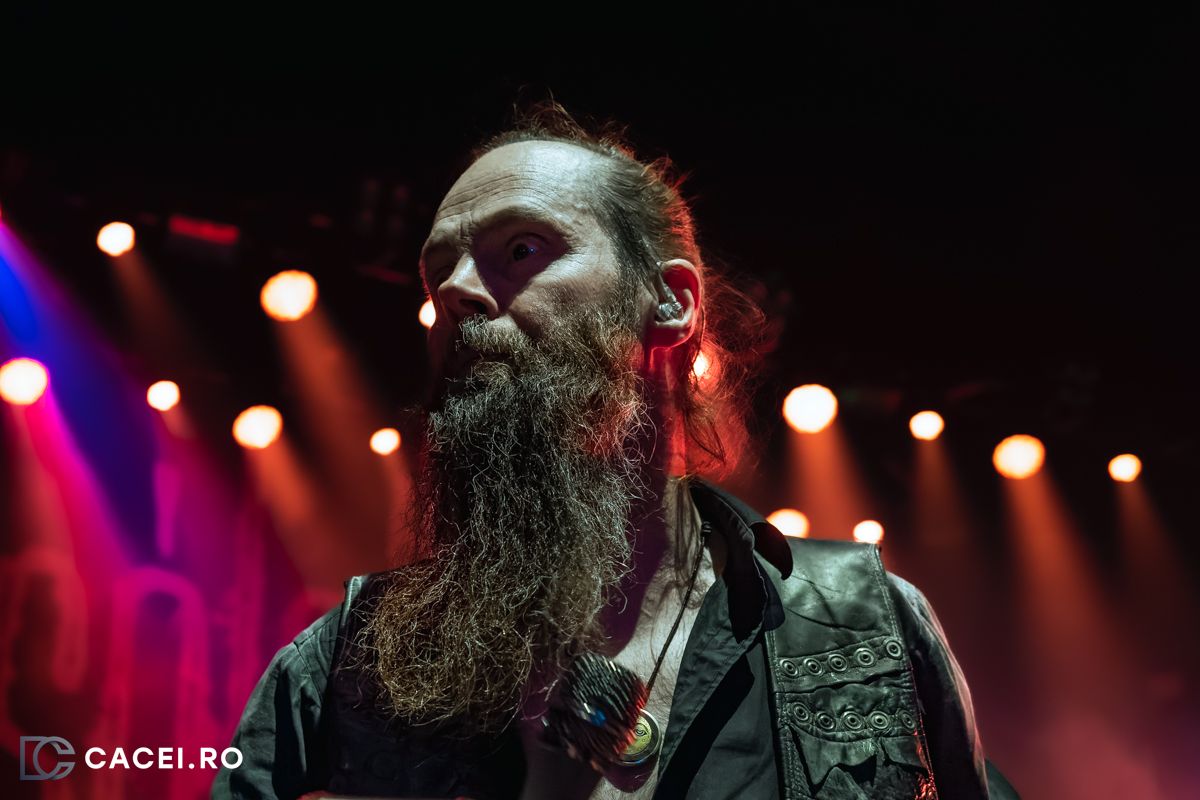
4. Clarity and Contrast
Increasing contrast makes stage lights pop, and boosting clarity sharpens details like tattoos or the texture of an instrument. However, too much clarity can create harsh edges, so tweak these settings carefully.
5. Sharpening Techniques
After noise reduction, your images may look a bit soft. Apply selective sharpening to important areas—like a vocalist’s face or guitar strings—to direct viewers’ attention without highlighting any noise in dark backgrounds.
Conclusion
Metal concert photography is all about balancing technical skills, quick reflexes, and creative storytelling. The genre’s lighting, crowd energy, and dynamic performances pose real challenges but also offer unique chances to capture great images. By understanding your gear, planning around venue restrictions, and using smart editing techniques, you can create great photos.
Keep pushing your limits, experimenting with angles and timing, and honing your editing skills. Each concert is a new opportunity to learn and grow.